


Tracking, Dollying, and
Tumbling the Camera’s View
There are many different ways to change the camera’s view in Alias.
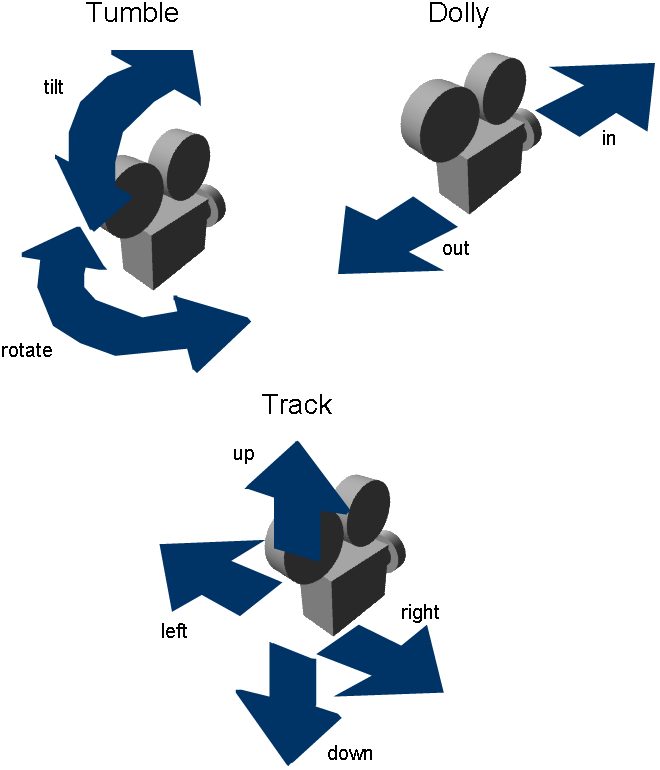
In general, you only need to learn three camera moves to model effectively: tumble, dolly, and track.
Because these camera movements are so common, Alias uses special hotkey/mouse combinations to access these movements quickly.
To use the camera move mode to move the camera in a perspective window
 and
and  keys (also and
  on the Mac).
Keep the keys held down during the following steps.

 to tumble the camera:
Tumbling the camera changes the azimuth and elevation angles of the camera.
, but keep the and keys (or and on the Mac) held down.
 to dolly the camera in and
out.
to dolly the camera in and
out.
Dollying moves the camera forward and backward.
, but keep the and keys (or and on the Mac) held down.
 to track the camera.
Tracking moves the camera, but does not change the direction in which the camera is pointing.
and keys (or and on the Mac) to exit camera
move mode.
Now, try moving the camera in the orthographic windows.
To use the camera move keys to move the camera in an orthographic window
and keys (also and on the Mac) to enter camera
move mode.

to dolly in and out.
to track up, down, left
and right.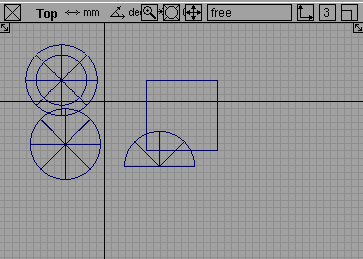
to tumble the orthographic
view.
Nothing happens. You cannot change the view direction of orthographic windows. They always look in the same direction.
Moving the camera is a very important skill in Alias. Throughout these lessons, you need to move the camera to work with geometry.
Using the camera move mode soon becomes second nature. With practice, you will be able to move the camera where you need it without thinking about the keys or the mouse.
Practice tumbling, tracking, and dollying the camera around the model some more before you move on.
To use Look At to center on an object
 tool.
tool.
Remember that the marking menu has the pick
tools.
 tool.
tool.

 tool.
tool.
The active view window (the window with the white outline) changes to center on the picked object.

.
tool again.
The active view changes to center on all the existing geometry.

When you use Look At with nothing or everything picked, the view centers on all the geometry in the scene.
Look At is most useful to quickly find geometry that is outside the view of a window or too far to be seen clearly. Alias provides two additional tools to make it easier to move the camera around a model quickly: the “point of interest” and Viewing Panel.
