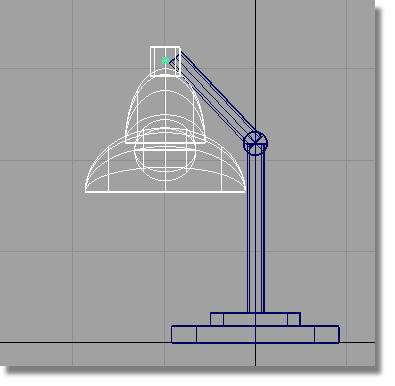
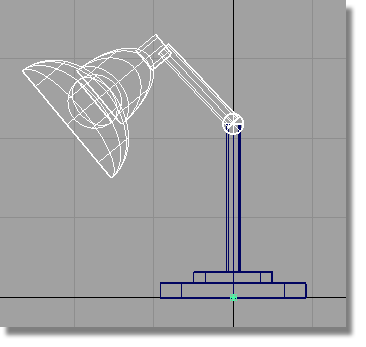
In this section, you will assemble the finished desk lamp by moving the lampshade into the correct position and grouping it with the upper arm.
 Watch Part
5 of the tutorial.
Watch Part
5 of the tutorial.
 and select the lampshade
group.
and select the lampshade
group.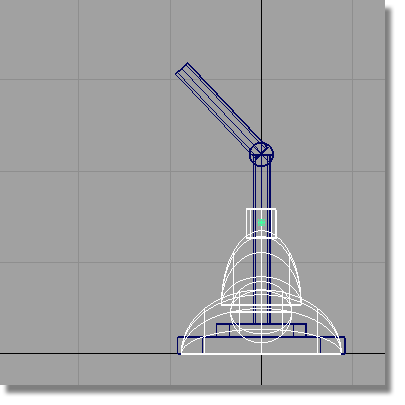
 to rotate the lampshade
about the y-axis.
to rotate the lampshade
about the y-axis.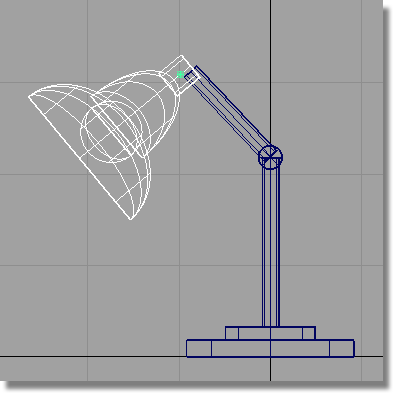
Grouping the lampshade and arm
Next, group the lampshade to the arm, so the lamp can be moved and arranged.
and select the lampshade
and the upper arm. 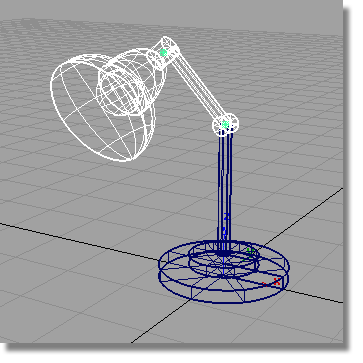
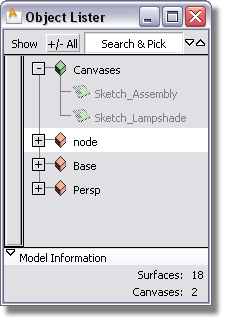
The two groups are highlighted in the Object Lister.

 ).
).
A new node is created and displayed in the Object Lister.

The group is created with the pivot point in the default location, at the origin. To ensure the upper assembly rotates correctly, you will now move the pivot point to the center of the hinge.
 and
and  (Windows) or
  and
and  (Mac) keys down and use
the
(Mac) keys down and use
the  to click the center-line
of the hinge cylinder.
to click the center-line
of the hinge cylinder.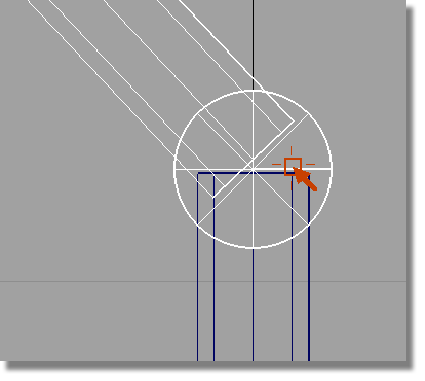
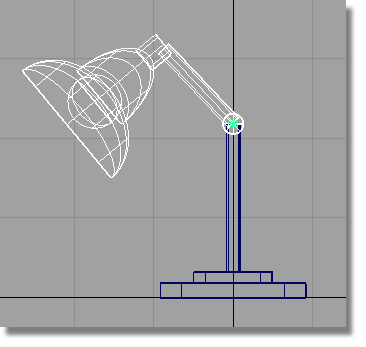
The pivot point moves to the center of the hinge.


 to save the current scene,
and call your file
to save the current scene,
and call your file