 Watch Part
6 of the tutorial.
The groups you created previously are still in the model.
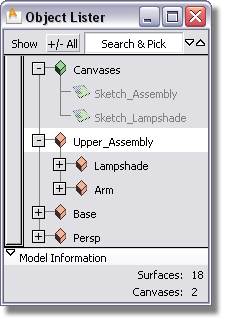
These groups and subgroups allow you to move and rotate different components of the lamp.
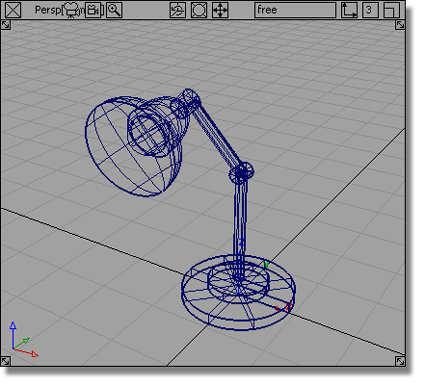
 . Use the
  to rotate the upper assembly
about the y-axis.
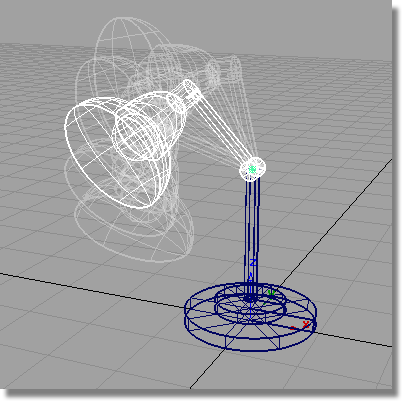
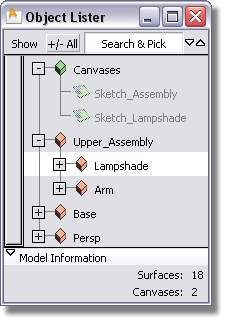
 to rotate just the lampshade
about the y-axis.
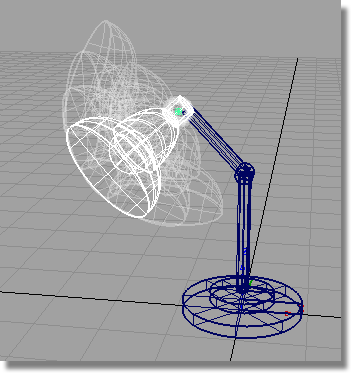
You can position the lamp in many different poses, by picking and rotating individual groups around the x, y and z axes.

The wire model can be shaded to give a more realistic view of the geometry. Diagnostic shading can be accessed in the Control Panel to the right of the Alias interface.
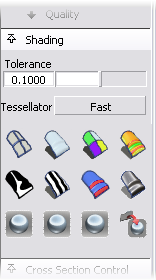
 .
.
 to color all objects in
the scene.
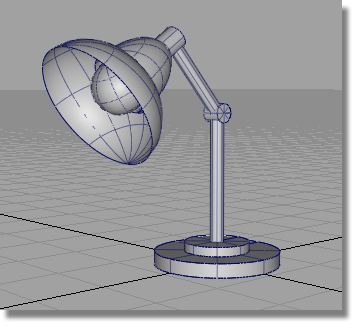
To return to the wireframe view, choose the wireframe icon .