In this tutorial, you explore Editable Poly surfaces further by building a model of a fighter airplane.
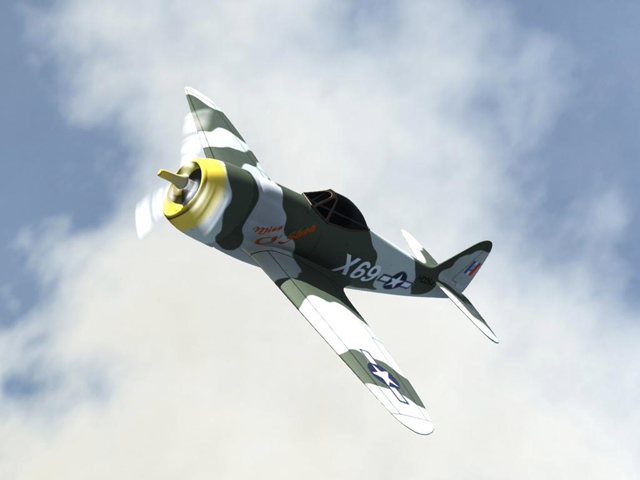
The aircraft is a Republic Aviation P-47 Thunderbolt, a heavy-duty fighter used extensively by the Allied forces in World War II. For information about the history and technical details of this aircraft, do a Web search for “P-47”.
Time to complete: 5 to 6 hours
 (Project Folder) and set your current project to Autodesk 3ds Max 2012 Tutorials.
Pointers on Setting Up a “Virtual Studio”
When you build a 3D model from scratch, often it helps to set up reference or “blueprint” images to use as a guide to the 3D geometry. Typically these images are plans that show the side, front, and top of the object to model.
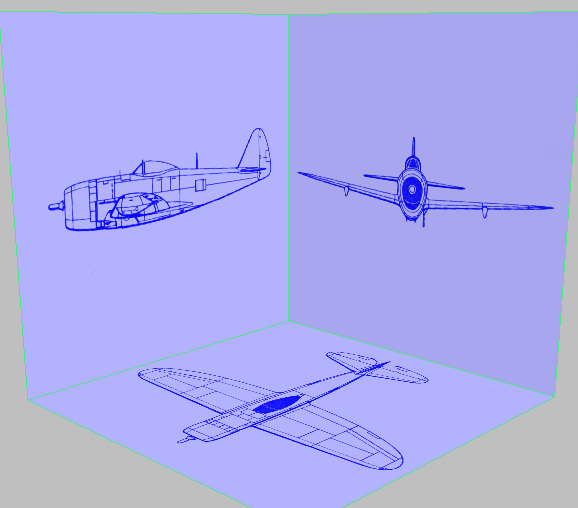
Virtual studio for the P-47 model
You might find such plans on the Web, you might scan them from a book or the instructions for a scale model, or you might draw them yourself. Here are some pointers for how to set them up so you can use them in 3ds Max:
Many image-processing programs have guidelines or rulers that can help you align the images to a common center, and make sure their dimensions match.
Square images are easier to align when you apply them to 3ds Max geometry.
For this tutorial, we chose shades of blue: This nostalgically recalls paper blueprints, but more importantly, in 3ds Max it is impossible to see white selection boxes against a white background.
In 3ds Max itself, you can set up three planes in the virtual studio arrangement. For this tutorial, we used Generic units (1 generic unit equals 1 inch), and set the reference planes to the pixel dimensions of the blueprint images: 800 x 800.
Map the images to the planes, using these guidelines:
If your scene uses lights, the blueprint images will always be visible.
This way, when you look at the model through one of the planes, the image doesn’t get in the way.
Freezing the planes lets you work on the model without worrying about selecting the planes by accident. By default, frozen objects are gray: Turning off this option lets you freeze the planes and still see their blueprint images.
The fuselage begins as a geometric primitive. You modify the shape of the primitive, and then convert it to an Editable Poly object. For most of this section, and the remainder of the tutorial, you will use Edit Poly tools to shape the airplane.
To complete the tail, you add horizontal stabilizers on either side of the vertical stabilizer.
The wings are shaped extrusions as are the horizontal stabilizers. Once more, the wing on the right side is provided by the Symmetry modifier.
The cockpit includes a canopy, which becomes a separate object. It also includes part of the hollow interior of the aircraft.
To complete the aircraft, you make various adjustments to both the fuselage and the cockpit canopy.


