In this lesson, you use Unwrap UVW to apply a print pattern to a skirt. It is a simple exercise to acquaint you with the Unwrap UVW modifier and the use of its Freeform transform tool.
 (Open File), navigate to \scenes\materials_and_mapping\unwrap_uvw_clothing\ and open fashion_model_clothed.max.
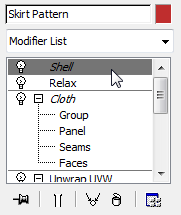
The model is in a reference pose. The pullover and skirt are both created with the Garment Maker and Cloth modifiers.
Create a texture for the skirt:
 (Material Editor) to open the Slate Material editor.
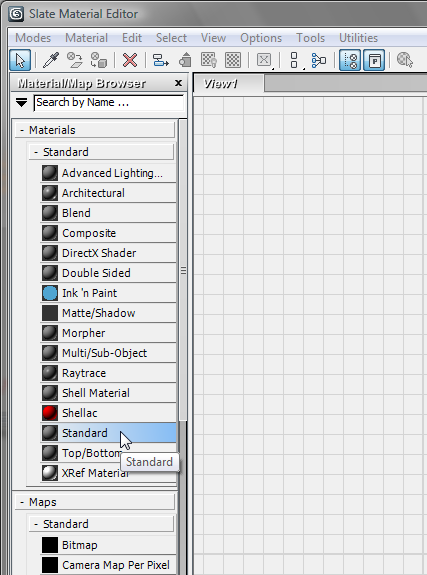
If this is the first time you are using the Slate Material Editor, you might need to resize it so you can easily see all three of the columns in its interface.
Drag this entry to the large View panel (View1) at the center of the window. 3ds Max displays the material as a node in the View.
3ds Max opens a pop-up context menu.
On the context menu, choose Bitmap.

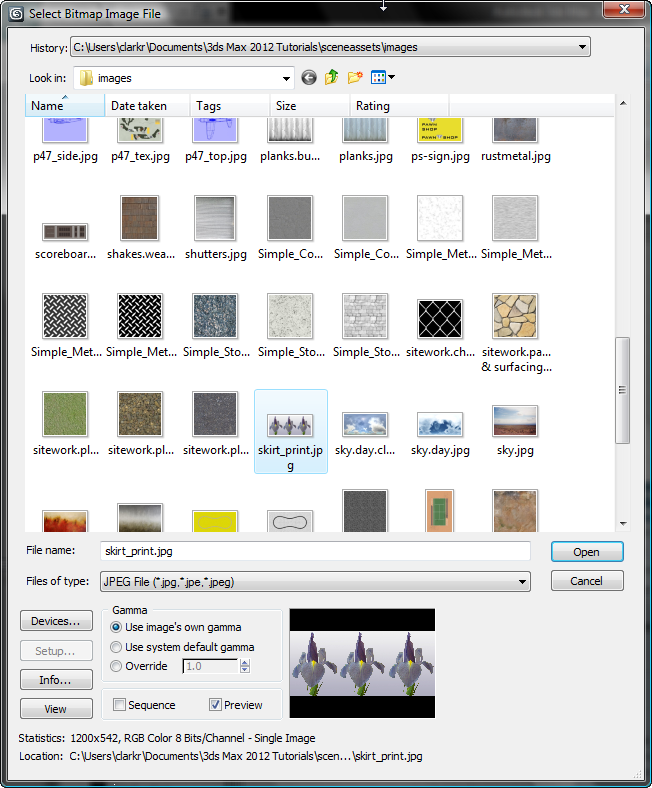
3ds Max opens a Select Bitmap Image File dialog.
On the file dialog, click skirt_print.jpg to select it, then click open.
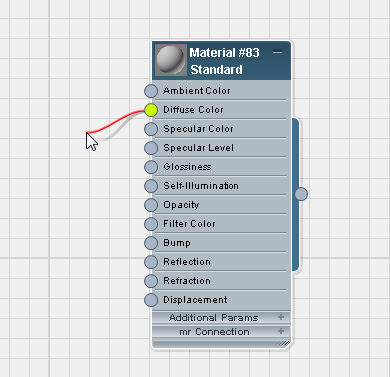
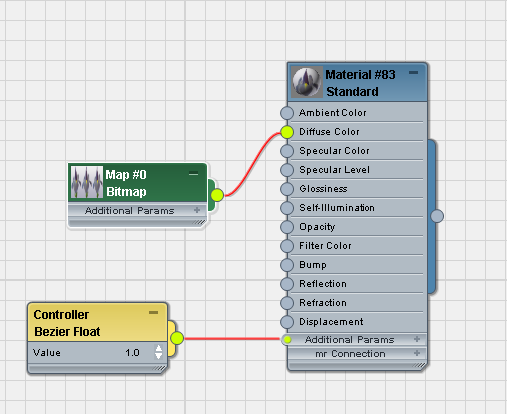
3ds Max adds a Bitmap node to the material's Diffuse Color component. It also adds a controller node for the Amount of diffuse color, but you won't be using that.
 (Show Shaded Material in Viewport). (If you are using the Direct3D, OpenGL, or Software viewport driver, the tooltip says,
"Show Standard Map in Viewport.")
(Show Shaded Material in Viewport). (If you are using the Direct3D, OpenGL, or Software viewport driver, the tooltip says,
"Show Standard Map in Viewport.") 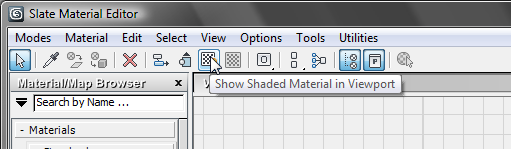
When this option is turned on, 3ds Max displays a red wedge in the title bar of the Bitmap node.
 click to select the skirt (Skirt Pattern) object.
 (Assign Material to Selection).
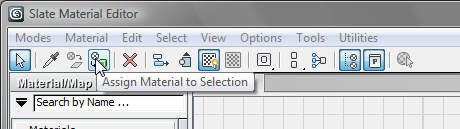
 Close the Slate Material Editor.
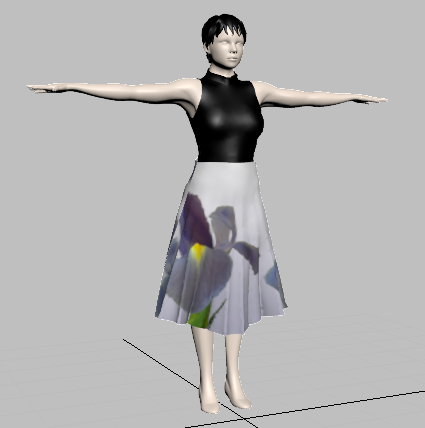
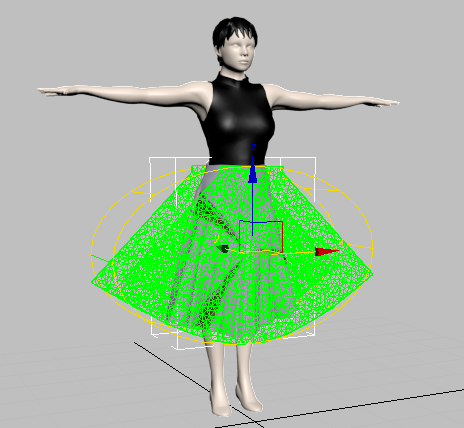
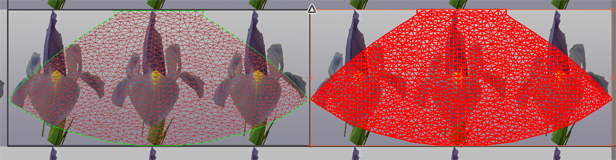
Shaded viewports now show the pattern on the dress. This is a good start, but the flowers should appear vertically and more evenly spaced.
 Modify panel.
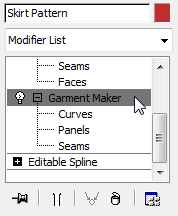
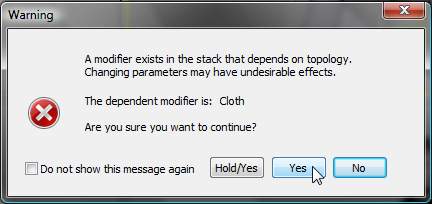
3ds Max displays a warning about topology. Click Yes to dismiss this warning.
 (Polygon) to go to the Polygon sub-object level.
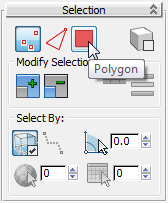
If 3ds Max displays the topology warning again, click Yes to dismiss it again.
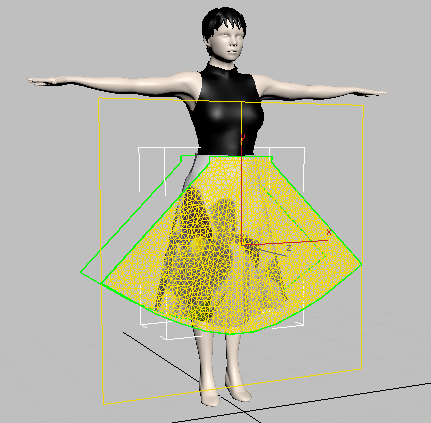
3ds Max viewports display the skirt as the flat meshes created by Garment Maker.
 Projection rollout, click
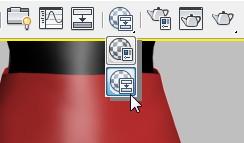
  (Cylindrical Map) to turn it on.
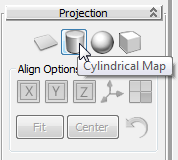
3ds Max sets a cylindrical projection for the skirt, but the orientation is not correct.
 (Align to Z).
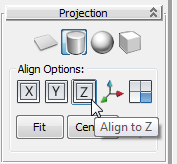
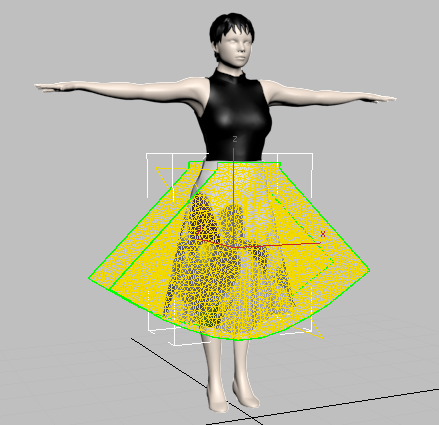
Now the projection is oriented correctly.
 (Cylindrical Map) again to turn it off.
Adjust the layout of the print pattern:
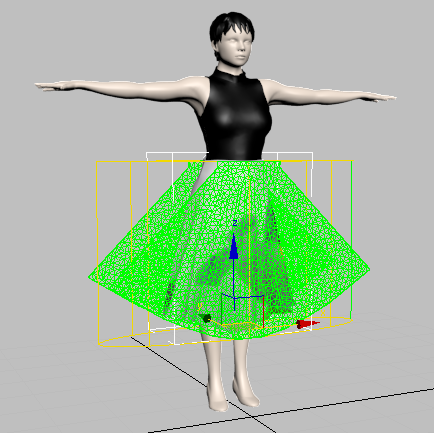
Edit UVs rollout, click Open UV Editor. 
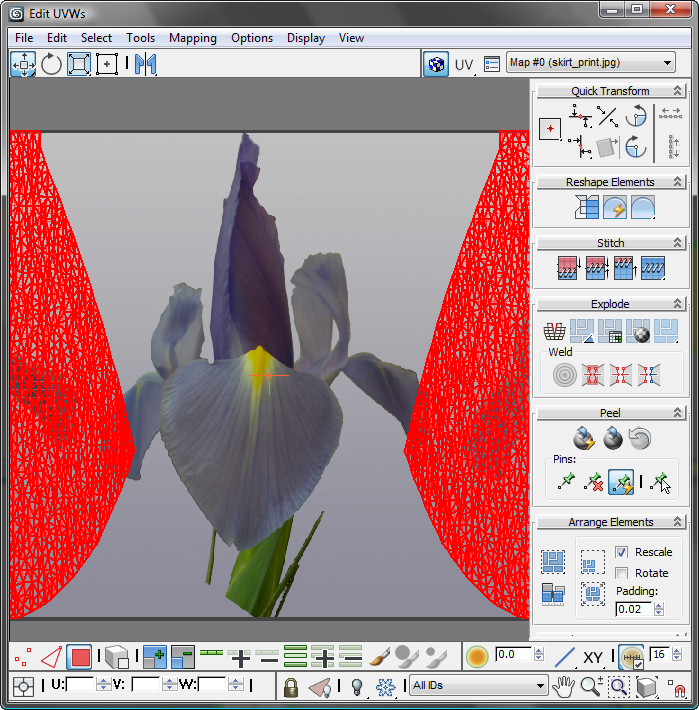
3ds Max opens the Edit UVWs dialog.

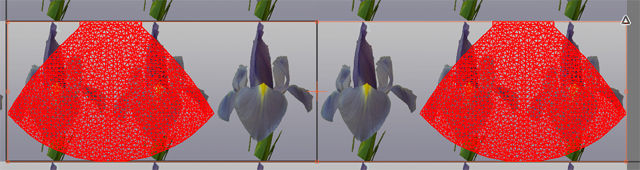
Each panel of the skirt appears in the Edit UVWs window as a flat cluster, highlighted in red because they are selected.
You might notice that 3ds Max slows down. Garment Maker generates a large number of faces.
upper toolbar, open the texture drop-down list, and choose Map #0 (skirt_print.jpg). (The map number might vary.) 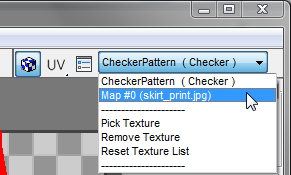
The map pattern appears in the Edit UVWs window.
 upper toolbar, click the
  options button.
 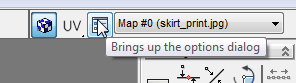 Display Preferences group, if Tile Bitmap is off, click to turn it on, and if Use Custom Bitmap size is on, click to turn
it off.
Display Preferences group, if Tile Bitmap is off, click to turn it on, and if Use Custom Bitmap size is on, click to turn
it off. 
Click OK to close the Unwrap Options dialog.
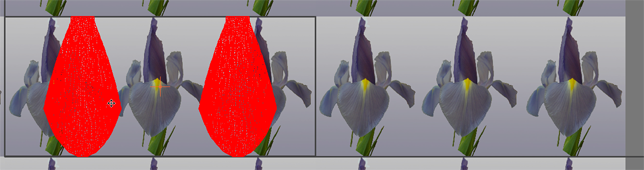
The area in the Edit UVWs window outlined by a dark rectangle is a unit square for the UV coordinates (it appear rectangular in this case, because the bitmap is not square).
 zoom and
  pan the Edit UVWs window so you can see two tiles of the flower pattern.
Navigation tools are on the Edit UVWs dialog second lower toolbar, the Transform/Display toolbar. They appear in the lower-right corner of the dialog.
 upper toolbar, click
  (Freeform Mode) to activate it.
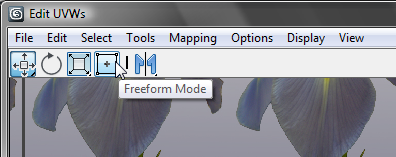
In Freeform Mode, the sub-object selection is surrounded by a box. Dragging the center of the box moves the selection; dragging a handle in the middle of a side rotates it; and dragging a handle at a corner scales the selection, relative to the texture you are mapping. Watch the cursor to see which transform is active.
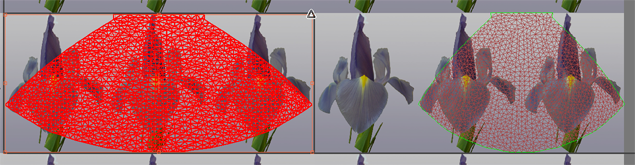
 lower toolbars, the Sub-object Selection toolbar, click
  (Select by Element UV Toggle) to turn it on.
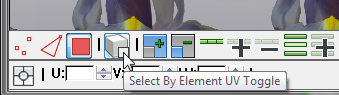
 Close the Edit UVWs dialog.
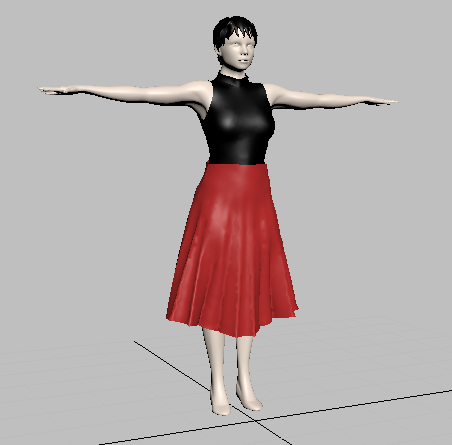
The skirt of the finished model has a regular pattern, with vertical flowers at the front and back.


 Mapping a Skirt