


In this lesson, you use the Peel feature, new to Autodesk 3ds Max 2012, to set up the clusters for the clothing of a character skin, in preparation for applying a texture.
 (Open File), navigate to \scenes\materials_and_mapping\unwrap_uvw_clothing\ and open cman_uv_start.max.
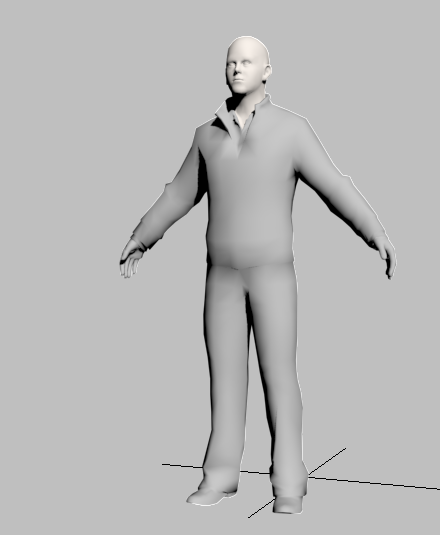
The model is a character figure named CMan created by aXYZ design. In this lesson, you will use the Peel feature to create clusters for the main clothing of the model. This model is a typical character skin, in that the clothing and skin portions are all part of the same surface, which in this case is an Editable Poly object.
Unwrap UVW has features for flattening the parts of a model so they can be mapped more easily. However, for complicated models such as characters, the default choices are usually too complex. For example, here is the default flattening of the CMan model:

Face Angle flattening of the CMan geometry
For a complex model, it is better to create clusters yourself, following natural contours. This lesson shows how to use the Peel feature to do so.
Seams help Unwrap UVW flatten clusters in a natural way. For a model with clothing, as in this lesson, it is often easiest to place the seams where they would be in an actual garment.
For the clothes of the CMan model, we use three clusters: the left arm or sleeve, the right arm, and the legs and torso as one large unit. These are already saved as named selections.
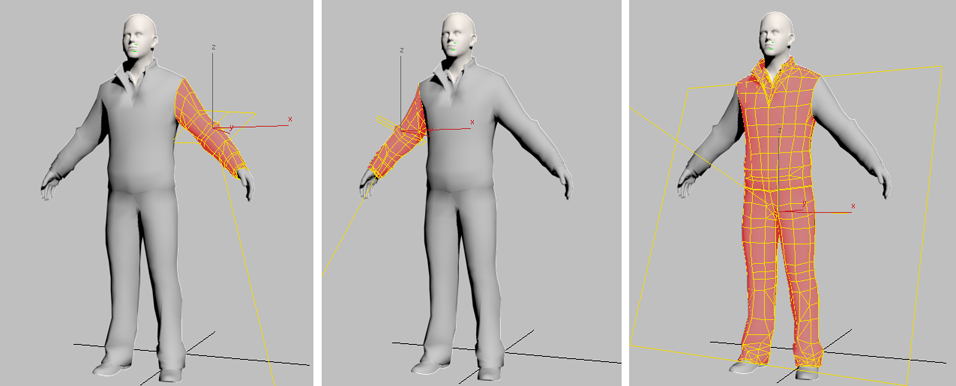
Left arm, right arm, and legs-and-torso clusters
Note: The gizmos shown are for the default map projection, which Peel will change.
The Unwrap UVW modifier in this scene has other named Polygon selections, which you don't use in this lesson.
When you unwrap a Polygon selection, Unwrap UVW automatically creates seams at the edges. Because of this, you need to create seams explicitly only within each of the clusters.
 Creating Clusters for a Character Skin