This topic describes typical scenarios in which you might use containers.
Using Containers to Copy and Update Scene Content (Local Referencing)
Workflow: Group objects into a container, transform them as a single entity, make copies, update the copies, and branch a container off for separate development.
The container displays in an open state. An open container is fully editable.
The added objects are linked to the container as its children.
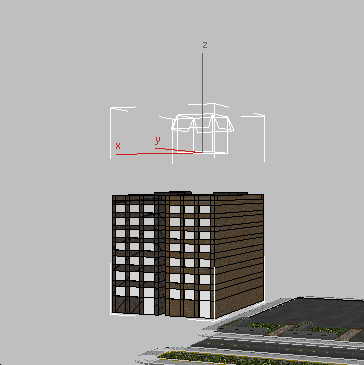
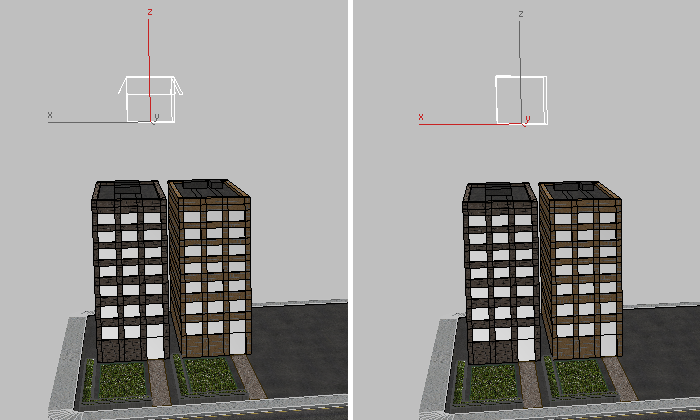
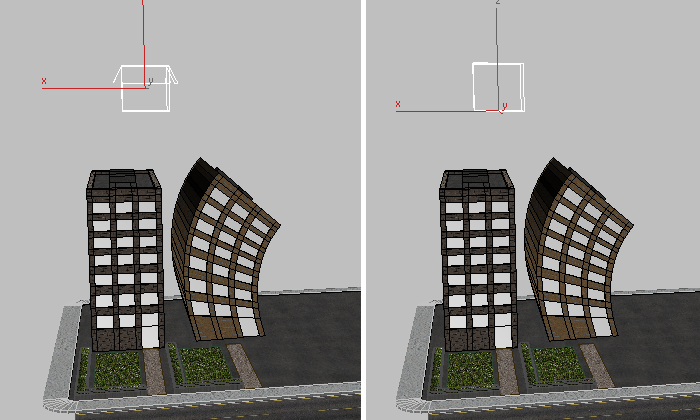
Two apartment models added to a container
Any changes made to the container affect its contents as well.
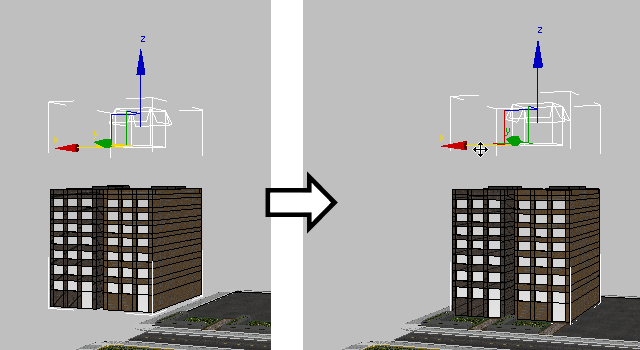
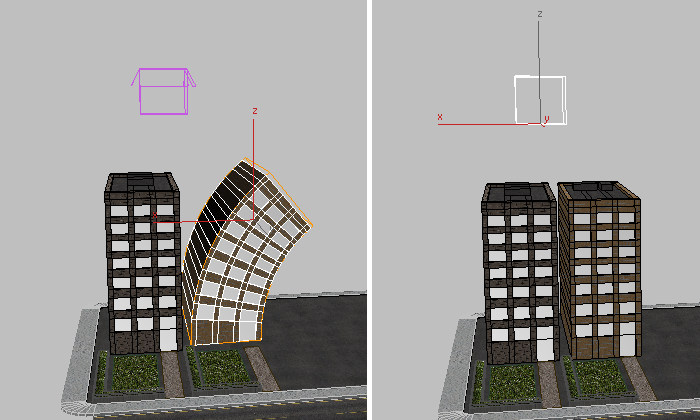
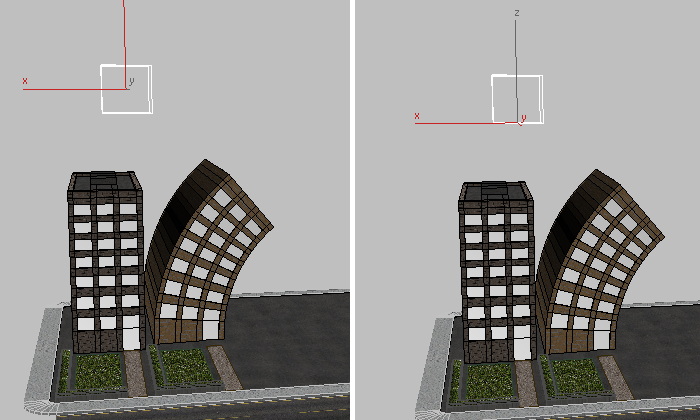
Container contents repositioned in a scene
Although the container contents are still visible in the viewports, effectively they are removed from the scene (for example, attempting to select the contents selects the container instead). The scene now references the Block_A.maxc file from its saved location.
All containers reference the same Block_A.maxc file.
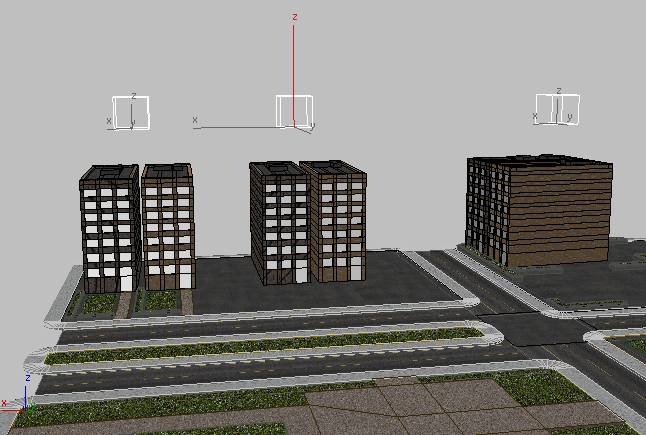
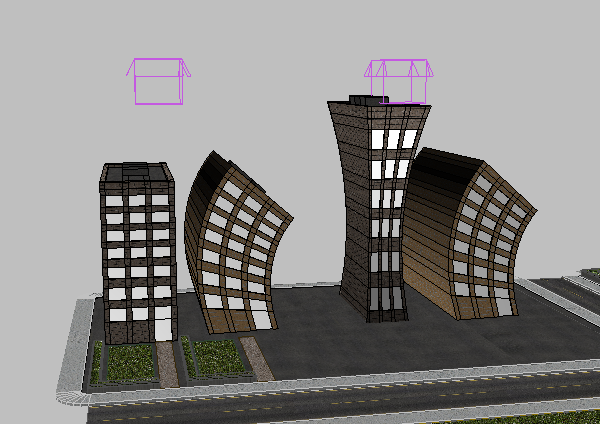
The original Block_A container (far left) and its two copies (middle and right)
A message appears informing you that the container can’t be opened while you’re editing its definition in another container. This helps prevent accidental overwriting of changed containers.
Because the other containers reference the same MAXC file, they update as well.
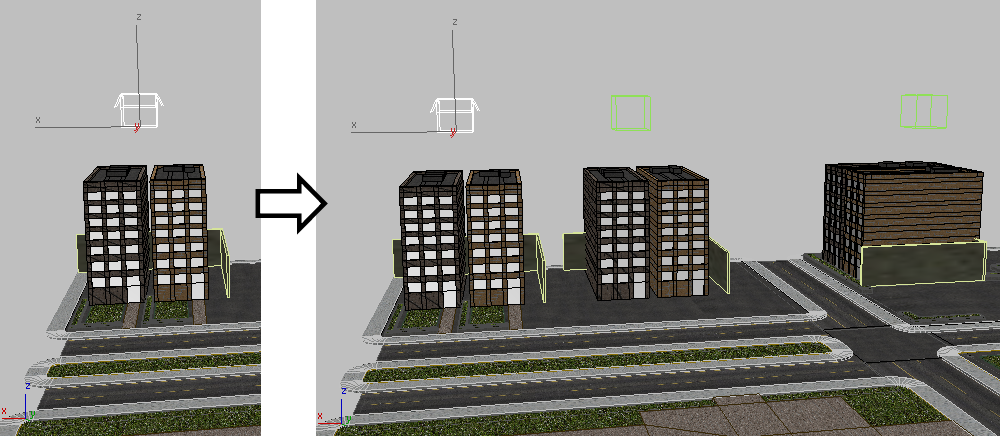
All containers receive the added object
The Block_B container is now branched off for its own development. Any further changes to it are not applied to the copies.
Block_B container (far right) is branched off. It is unaffected by updates to Block_A containers (left and middle).
Using Containers to Share and Edit Externally-Created Content (In-Place Editing)
Workflow: Inherit content from others, pass changes back to the original creator, and branch off from referenced containers for local development.
The container appears in the location in which it was saved from User A’s scene. At this point, user B can work with the container but cannot access its contents.
Container from User A (left) is inherited by User B (right)
Changes to User A’s building (left) before closing the container
The container is automatically saved as it closes. Any time the container is saved and Auto Update When Closed is on for the inherited container, User B inherits changes to the content, whether User A closes it or not.
User B’s container (right) after inheriting changes from User A
A warning icon next to the Update button for user B’s container notifies him that an update is required. Auto Update applies to changed content, but not changed settings for the container itself.
The Edit In Place button becomes available, so user B clicks it.
The container is closed and User A’s source definition is overwritten. The next time the author (or anyone else referen cing the container) loads the container, they will see the changes made by User B.
User A inherits changes made by User B
On the Inherited Content rollout, she clicks Merge Source Definition. The content is now local and behaves as if it was created from scratch in the current scene, rather than inherited from an external source. The container is now branched off; access is not limited by any rules.
Copied container (right) branched off and used in a different project
Using Containers to Manipulate Content and Set Visibility in a Complex Scene
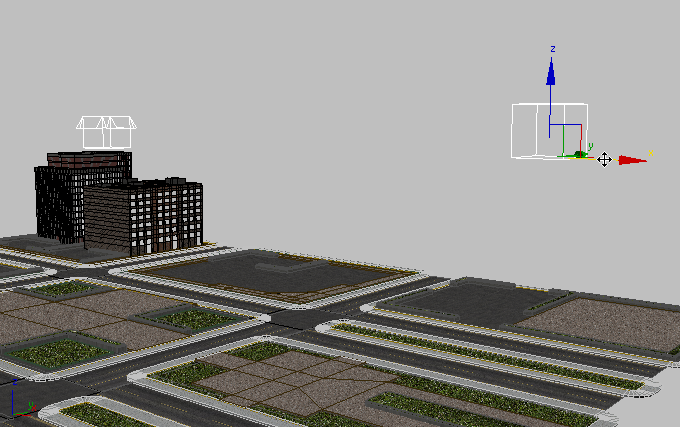
Workflow: Close a container, unload the container to remove its contents from the scene, move the container helper to another area in the scene, and reload the container so its contents display in their new location.
The containers are saved to disk and their contents, while still visible in the viewports, are removed from the scene. Scene performance is improved: It now takes less time to autosave, as well as to save and reload the scene file.
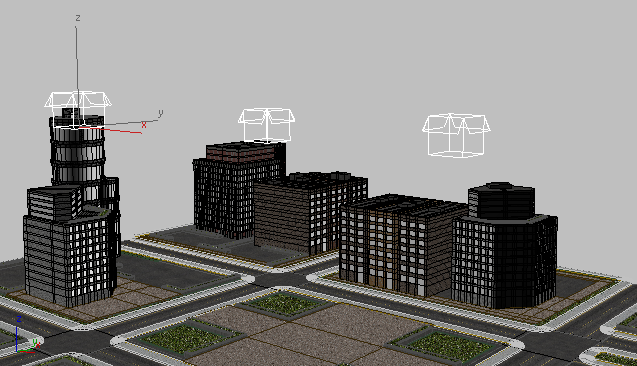
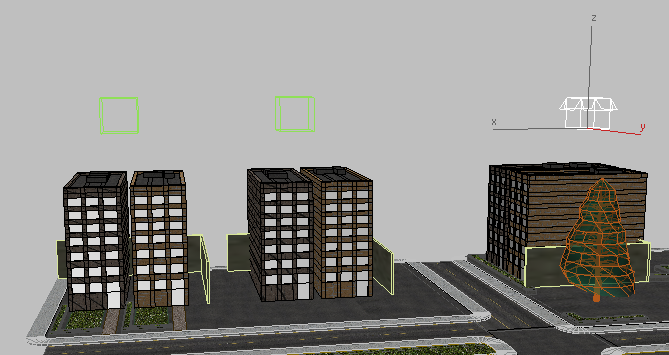
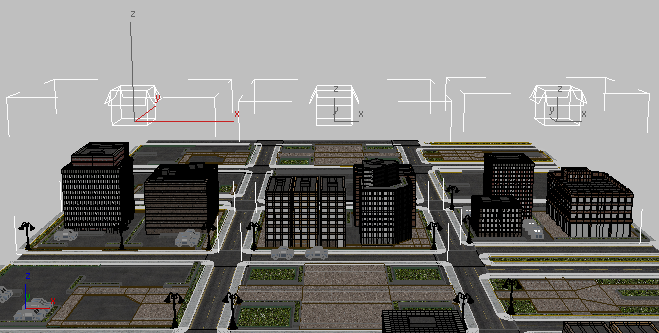
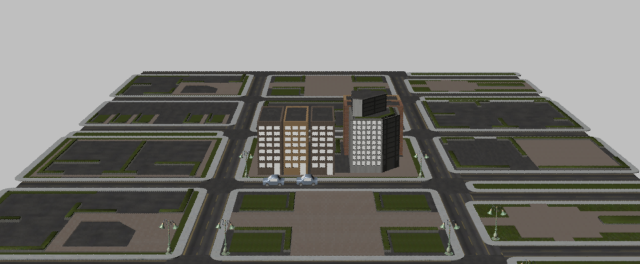
City scene with three saved local containers
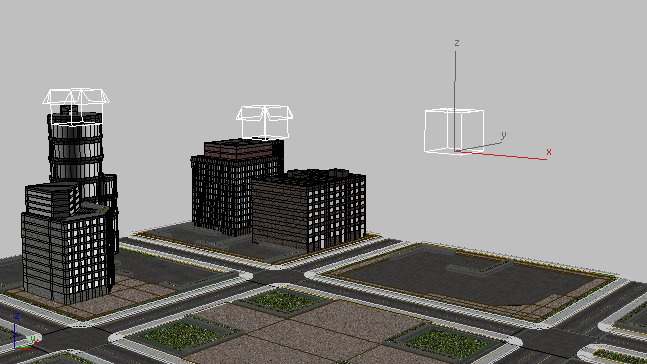
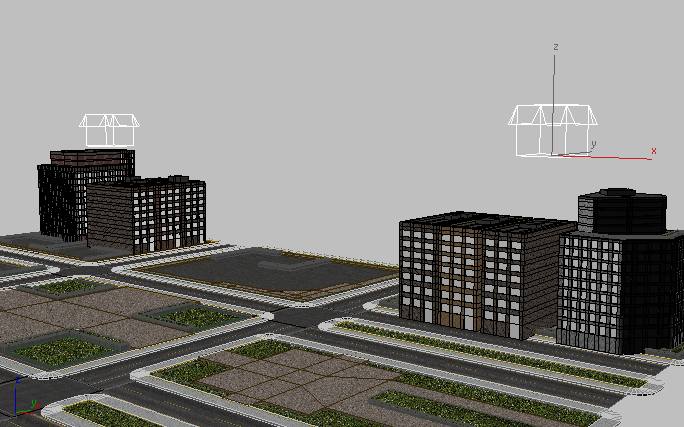
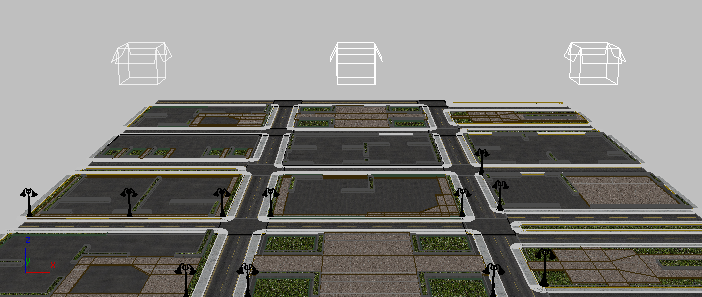
City scene with one unloaded container
The container contents reappear at their new location.
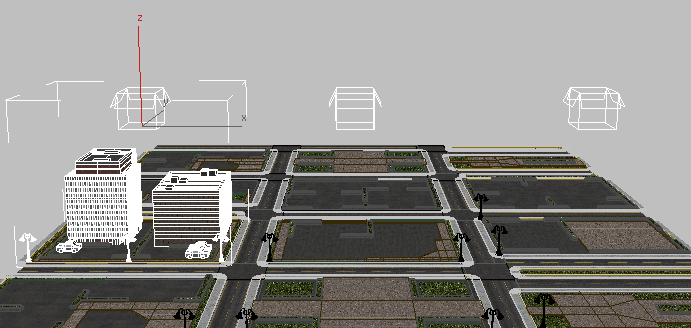
Container moved down the street
Container contents reloaded
This is a fast way to toggle content in and out of a complex or data-heavy scene.
Using Containers to Control Content Editability (Manage Merge and Make Unique)
Workflow: Create a container and place second container inside it, allow edits to the master container, then inherit the nested container to prevent edits by others.

Container (right) with the objects of one city block added to it
User A now has a parent container, with another container nested inside.
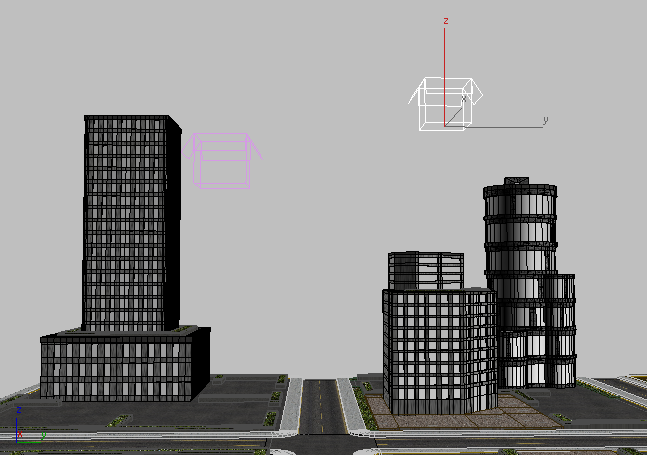
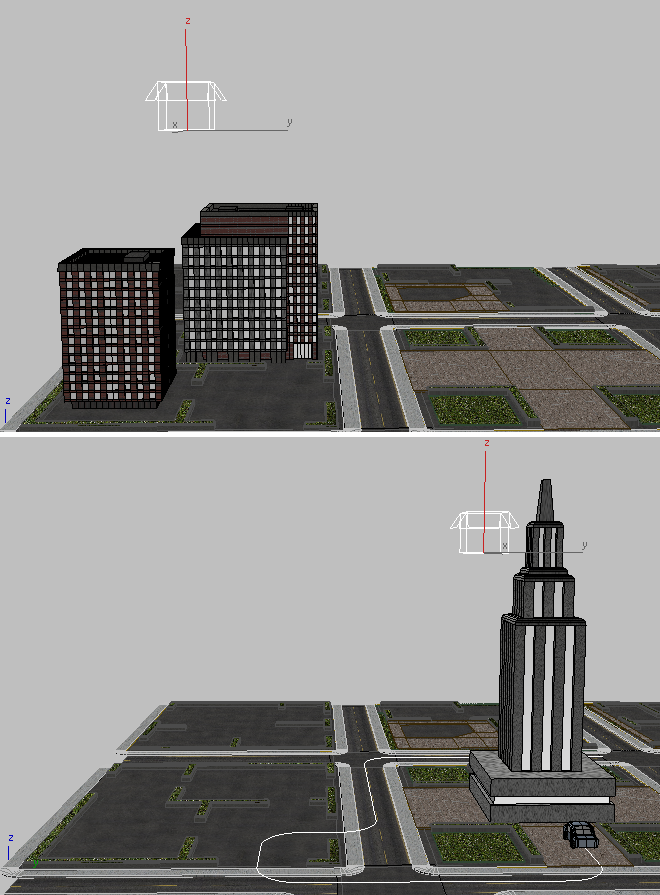
Master container (right) with a Skyscraper container (left) nested inside
Now the Skyscraper container is inherited into the master container, and access to its contents is prevented.

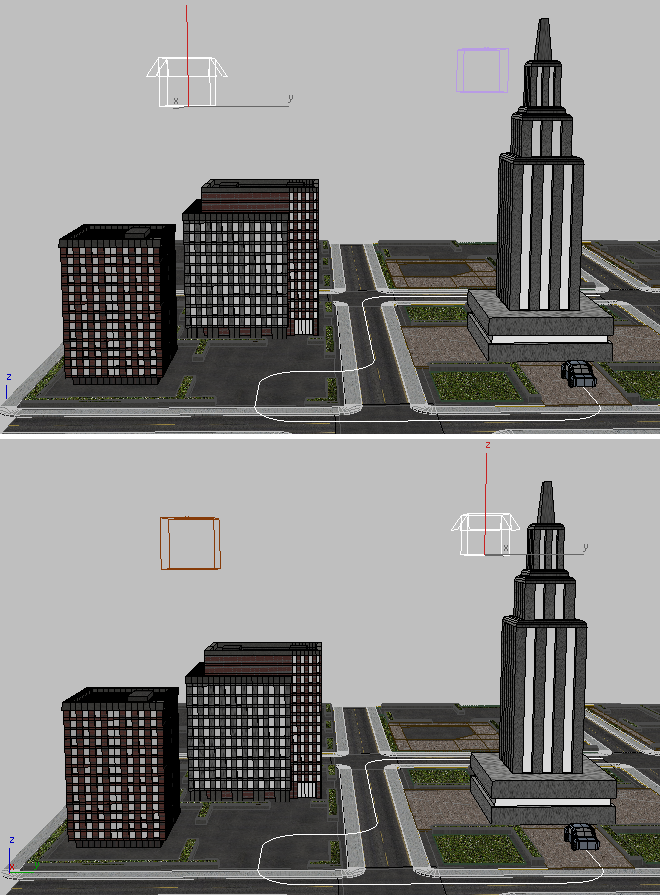
User B (bottom) inherits Containers from User A (top)
The previously uneditable container opens but it no longer references the author’s source container. User B can now modify its contents locally for her own scene.
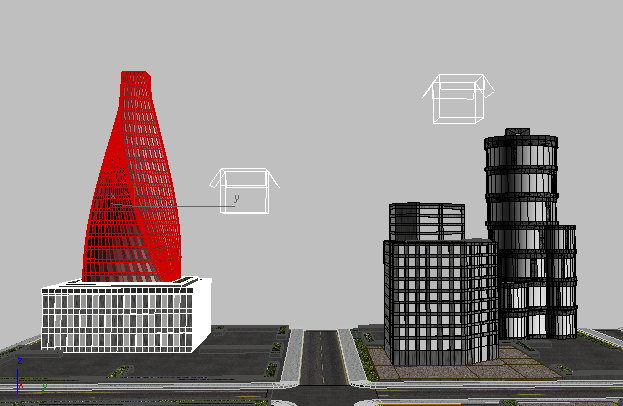
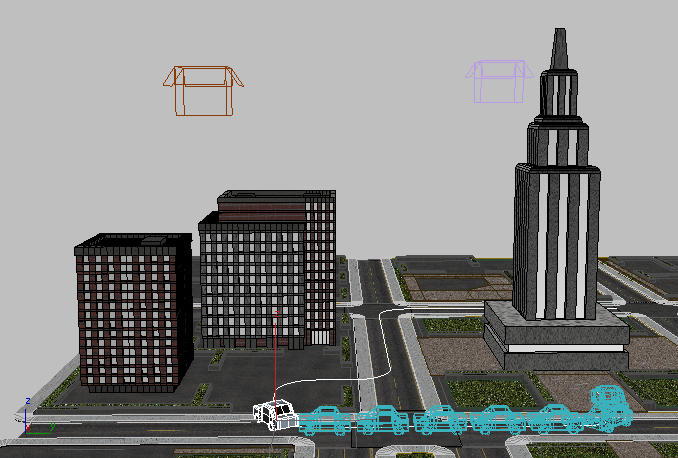
User B continues to work locally, building upon the work of User A
Using Containers to Control the Display of Objects In a Scene
Workflow: Set up container display so you can work on specific containers and hide the rest of the scene contents. Change the display setup without permanently changing the display organization of the scene.
 Expand Bounding Box.
This makes it easier to identify which objects belong to which Container.
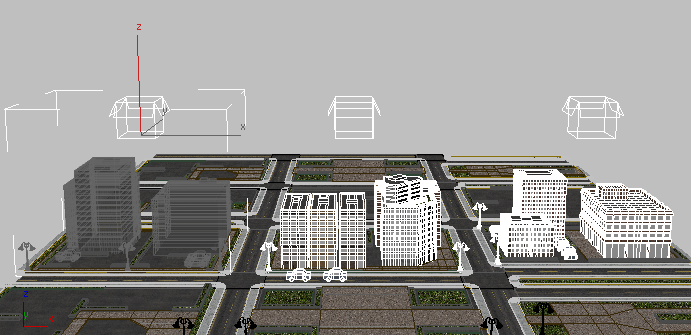
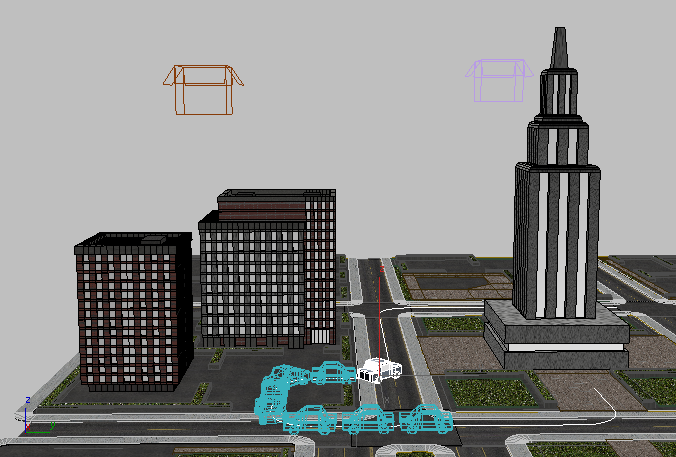
Three containers and their bounding boxes, showing the extent of their contents
Scene with a layer of lamp objects visible
Far left Container’s display properties override other hidden object layers
You can easily override object properties of selected containers from the Container Explorer or the Tools Containers submenu.
Left container object display properties set to See-Through, in order to see objects behind it
Renderability of left and right containers turned off
The renderable content of the scene is determined not by individual object or layer settings, but by container.
Workflow: User A inherits a container from User B, User B inherits a container from User A, each user clicks Update to keep abreast of the other’s work. They click Allow Edit In Place to their own containers to permit changes by an external user.
User A’s scene (top) and User B’s scene (bottom)
Users A and B can now work in parallel. They are developing their own components of a scene, while at the same time being able to see the progress of their colleague’s work.
User A (top) and User B (bottom) inherit one another’s scene components
User B adds keys to extend animation into User A’s part of the city.
User A inherits the changes made by User B.


