This command opens the Render Setup dialog, which lets you set the parameters for rendering. Rendering creates a still image or an animation. It shades the scene's geometry using the lighting you've set up, the materials you've applied, and environment settings such as background and atmosphere.
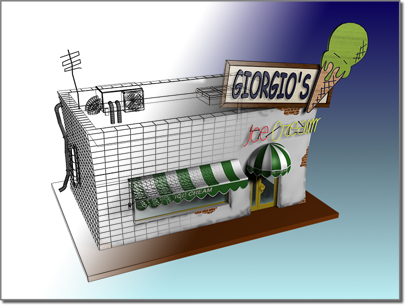
Rendering "fills in" geometry with color, shadow, lighting effects, and so on.
Rendering is multi-threaded and multi-processed on multiple-processor configurations. A two-processor or dual-core system can render in nearly half the time a single-processor system can.
Rendering can also take place on multiple systems by using a network. See Network Rendering. For the mental ray renderer, also see Distributed Bucket Rendering Rollout (mental ray Renderer).
If the renderer finds a parametric object that requires mapping, it automatically sets its Generate Mapping Coordinates toggle before rendering the scene. The toggle remains set after the rendering is done.
In the following cases, however, 3ds Max is unable to supply mapping coordinates automatically:
In these cases, 3ds Max is unable to render the scene completely. It displays a Missing Mapping Coordinates dialog that lists the objects the renderer couldn't map. To resolve the problem apply a UVW Map modifier to the objects that the dialog lists.
 (Render Setup).
The Render Setup dialog appears.
By default, the rendering appears in a window.
 (Render Production or use Render Last (press F9).
(Render Setup).
(Render Production or use Render Last (press F9).
(Render Setup).
The Render Setup dialog appears.
A configuration dialog opens that lets you set the options for the file format you chose. Adjust these settings or leave them at their defaults, and then click OK.
The configuration dialog closes, and on the Render Setup dialog  Common Parameters rollout, the Save File toggle is now available and on.
(Render Production) or use the Keyboard Shortcut F9 to Render Last.


