The Area To Render list on the Rendered Frame Window lets you specify the portion of the scene that will be rendered.
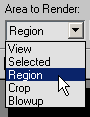
Area To Render lets you render only a portion of the scene.
To render only selected objects:
 Open the Rendered Frame Window.
 Select the objects to render.
3ds Max displays a progress dialog that shows the progress of rendering and the rendering parameter settings. To stop rendering, click Cancel in this dialog, or press Esc.
 (Edit Region).
This automatically sets the Area To Render option to Region, and displays the region window in the Rendered Frame Window and the active viewport. The window has editing handles and a close box (X).
To preserve the window's aspect ratio, press and hold Ctrl before you drag a handle.
3ds Max renders the region only. In Production mode, the Rendered Frame Window is cleared before rendering, but in Iterative mode, the area of the window outside the region remains intact.
(Edit Region) button appears on the Rendered Frame Window, to the right of the Area To Render list, and the Blowup region
window is displayed in the active viewport. This window is different from the one used for Region and Crop.
The Blowup region window does not appear in the Rendered Frame Window because the region extents might exceed the window area, depending on the rendering history.
The window is constrained to the aspect ratio of the current output size.
3ds Max displays a progress dialog that shows the progress of rendering and the rendering parameter settings. To stop rendering, click Cancel in this dialog, or press Esc.
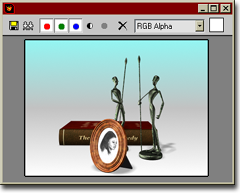
The following choices are available on the Area To Render drop-down list.
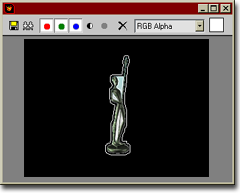
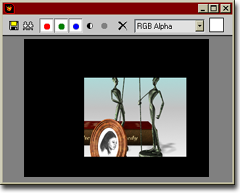
Renders the currently selected object or objects only. Rendering a selection with the scanline renderer leaves the remainder of the Rendered Frame Window intact. However, mental ray renders the background first, thus effectively clearing the rest of the frame.
 To remove any existing image from the window when rendering with the scanline renderer, use the Clear button before rendering.
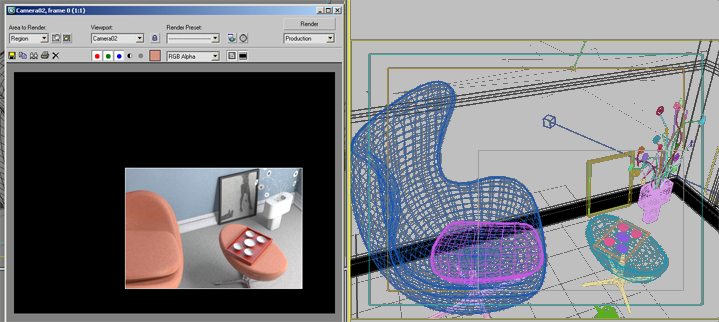
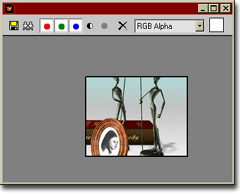
Renders a rectangular region within the active viewport. Using this option leaves the remainder of the Rendered Frame Window intact except when rendering an animation, in which case it clears the window first. Use the Region option when you need to test-render a part of the scene.
When you choose Region from the Area To Render list, the Edit Region control activates. This causes an editable version of the region to appear in both the Rendered Frame Window and the active viewport. To move the region or change its size, drag either region box or its handles, respectively. If you turn off Edit Region, the region remains visible in the Rendered Frame Window, but is no longer editable. Alternatively, to set the region to the current selection automatically, turn on Auto Region Selected.
Lets you specify the size of the output image using the same region box that appears for the Region option.
After you choose Crop from the Area To Render list, turn on Edit Regioni to cause a rectangular render region to appear in the active viewport. To move the region or change its size, drag the region box or its handles, respectively. Alternatively, to set the region to the current selection automatically, turn on Auto Region Selected.
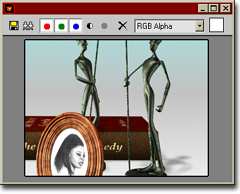
Renders a region within the active viewport and enlarges it to fill the output display.
After you choose Blowup from the Area To Render list, turn on Edit Region to cause a rectangular render region to appear in the active viewport. To move the region or change its size, drag the region box or its handles, respectively. Alternatively, to set the blowup region to the current selection automatically, turn on Auto Region Selected.