 Command entry:
 Material Editor
  Standard materialBasic Parameters rollout for the Anisotropic, Blinn, Metal, Multi-Layer, Oren-Nayar-Blinn, or Phong shader Self-Illumination group
These controls make the material self illuminated. Self-illumination creates the illusion of incandescence by replacing shadows on the surface with the diffuse color. As you increase self-illumination, the self-illumination color takes over from the ambient color. At a setting of 100, the material shows no shaded areas, although it can show specular highlights.
The self-illumination color appears in viewports.
There are two ways to specify self-illumination. You can turn on the check box and use a self-illumination color, or turn off the check box and use a monochrome spinner, which is comparable to using a gray scale self-illumination color.
Self-illuminated materials do not show shadows cast onto them, and they are unaffected by the lights in the scene. The brightness (Value in the HSV color description) remains the same regardless of the scene's lighting.
To make a visible light source in a scene, you can combine a geometric object with a light object, and give the geometric object a self-illuminating surface. For example, you could create a lofted light bulb shape, assign it a self-illuminating white or yellowish material, and place an omni light in the same location.
To make a material both self-illuminating and transparent, use the Additive transparency type in combination with self-illumination. See Extended Parameters.
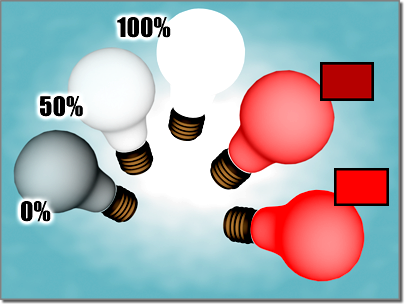
A self-illuminated object using a percentage value and a color
To make a material self-illuminating:
You can also set self-illumination with a monochrome spinner. To do so, turn off the self-illumination check box and adjust the spinner.
The self-illumination color is mixed with the material's diffuse color. The closer to black the self-illumination color, the more diffuse color is used.
As self-illumination increases, the sample object appears flatter and more luminous.
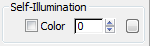
When on, the material uses a special self-illumination color. When off, the material uses the diffuse color for self-illumination, and displays a spinner to control the self-illumination amount. Default=off.
Click the map button to assign a Self-Illumination map. This button is a shortcut: You can also assign a Self-Illumination map on the Maps rollout.
When Color is on, the color swatch shows the self-illumination color. To change the color, click the swatch and then use the Color Selector. Adjusting the Value (in the color's HSV description) adjusts the amount of self-illumination. The greater the Value, the more the self-illumination color dominates both the ambient and diffuse color components.


