Volume shading shades a three-dimensional volume, rather than a surface. Typically, volume shaders provide atmospheric effects such as mist and fog.
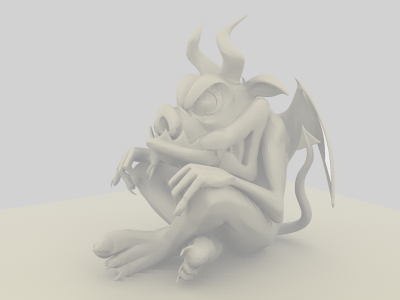
Model rendered with no volume effect
There are two ways to assign a volume shader:
This makes a volume out of objects to which the material is applied.
Usually when you assign a volume shader to a material, you want to make its surface transparent so the shading within the volume is visible. You can do this with the mental images Transmat Photon.
To assign a volume shader to a camera, use the Render Setup dialog. To assign a volume shader to a material, use the material's Volume shader component. This component is found on the mental ray Connection rollout, and in the mental ray material itself. See the “Procedures” that follow.
To apply volume shading to a camera:
 (Render Setup).
If the active renderer is not already the mental ray renderer, go to the Common panel, and on the Assign Renderer rollout, click the “...” button for the Production renderer. A Choose Renderer dialog is displayed. Highlight “mental ray Renderer” in the list, and then click OK.
3ds Max opens the Material/Map Browser.
To apply volume shading to an object:
 Preferences. Go to the mental ray panel, and turn on Enable Mental Ray Extensions.
(Render Setup).
Preferences. Go to the mental ray panel, and turn on Enable Mental Ray Extensions.
(Render Setup).
If mental ray is not already the active renderer, go to the Common panel, and on the Assign Renderer rollout, click the “...” button for the Production renderer. The Choose Renderer dialog opens. Highlight “mental ray Renderer” in the list and then click OK.
 Open the Material Editor. Use the mental ray Connection rollout to assign a volume shader to the Volume component.
Another technique would be to use the mental ray material, and assign a shader to the Volume component.
 the lock button to unlock the Surface component. Click the shader button (“None”) and use the Browser to assign the Transmat
(physics) shader to the surface.
the lock button to unlock the Surface component. Click the shader button (“None”) and use the Browser to assign the Transmat
(physics) shader to the surface.
(If you are using the mental ray material, you don't need to first unlock the Surface component.)