In this lesson, you will use the Lighting Analysis Assistant to check your scene’s render settings, then make the needed adjustments so that lighting analysis can take place.
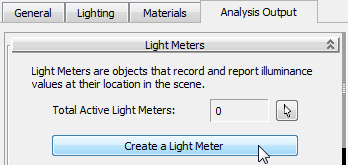
Next, you’ll create an invisible Light Meter object. Light Meters perform lighting analysis by calculating luminance over a specific area in a scene. Light Meters can calculate direct luminance, indirect luminance, or a combination of the two.
 open arena_01.max.
Open the Lighting Analysis Assistant and check the status of the scene:
 Lighting Analysis Assistant.
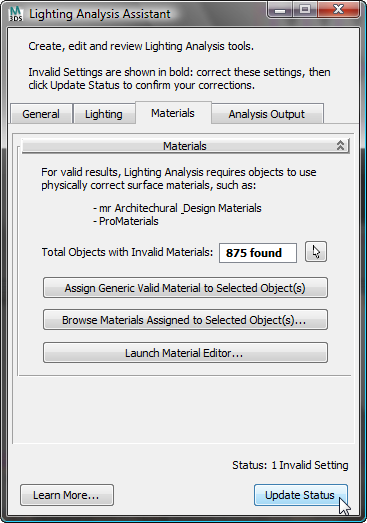
3ds Max Design opens the Lighting Analysis Assistant dialog. This is where you activate and edit the tools used to analyze lighting in a scene.
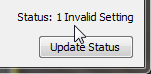
The status line at the bottom of the dialog indicates the number of invalid settings, if any, that you must correct.
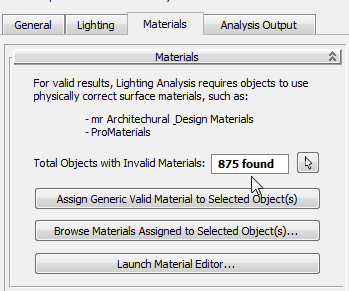
The Lighting Analysis tool requires that all objects in the scene use physically correct surface materials. Only objects assigned the mental ray Arch & Design material or one of the Autodesk Materials (including materials from the Autodesk Material Library) are permitted. All other materials are considered invalid. Objects with no material assigned are also treated as invalid.
The Materials rollout Total Objects With Invalid Materials box indicates the presence of 875 invalid objects in the scene, which you must now correct.
Locate the objects with invalid materials:
 selection button next to Total Objects With Invalid Materials.
This selects all objects in the scene that have an invalid material. As you can see in the viewports, most of the problem objects are the arena seats.
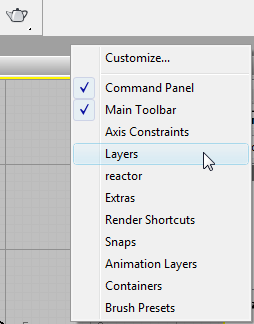
3ds Max Design opens the Layers toolbar. A layer called Seats has already been created for you.
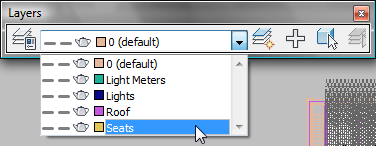
 (Select Objects In Current Layer).
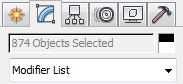
All seat objects are selected. On the Modify panel, you can see that 874 objects are selected: This is just one object short of the 875 total number of objects with invalid materials.
Update the material for the arena seats:
 Slate Material Editor.
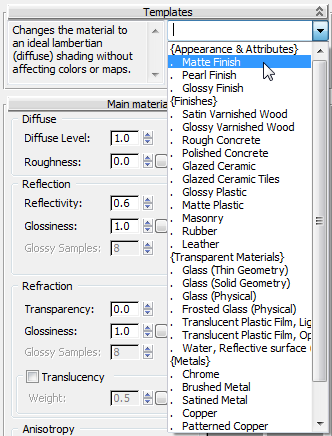
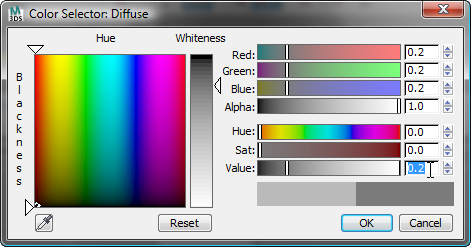
The Seats material is a Standard material, which is not physically-based, as the Lighting Analysis Assistant requires.
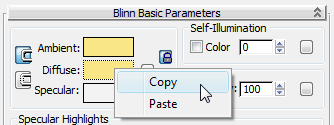
This saves the color for use in the new material you will now apply to the seats.
mental ray group. Drag an Arch & Design entry from the Browser into the active View.

 Diffuse group, right-click the Color swatch and choose Paste.
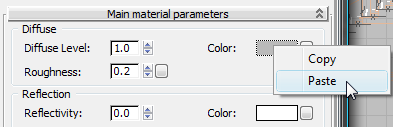
This copies the color from the Standard material to the Arch & Design material.
 (Assign Material To Selection).
Apply a material to the Ground object:
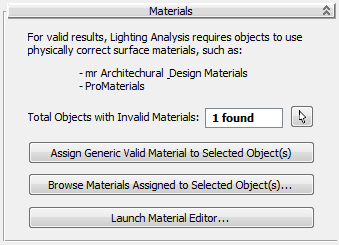
On the Materials rollout, the Total Objects With Invalid Materials field updates to show only one remaining object with an invalid material.
 selection button.
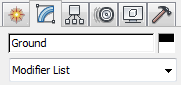
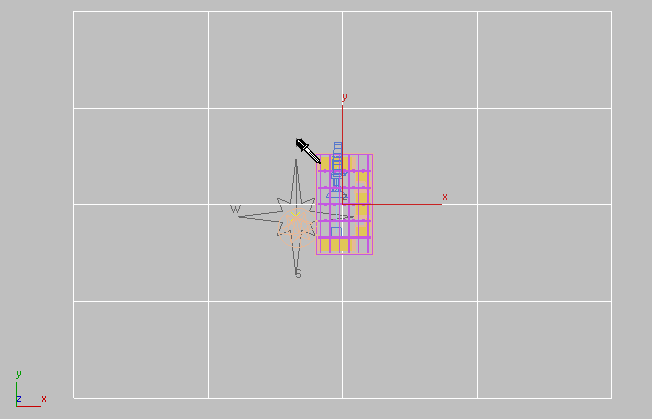
3ds Max Design selects the Ground object, which is the ground on which the indoor arena stands.
 (Zoom Extents).
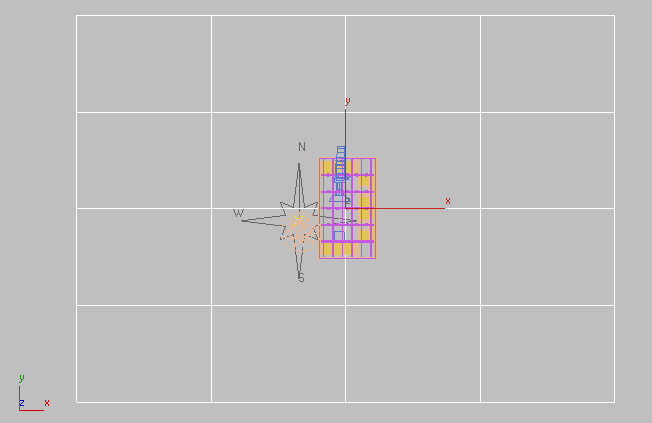
Top view of scene with Ground object selected
 (Pick Material From Object) and position the eyedropper cursor over a grid line of the Ground object.
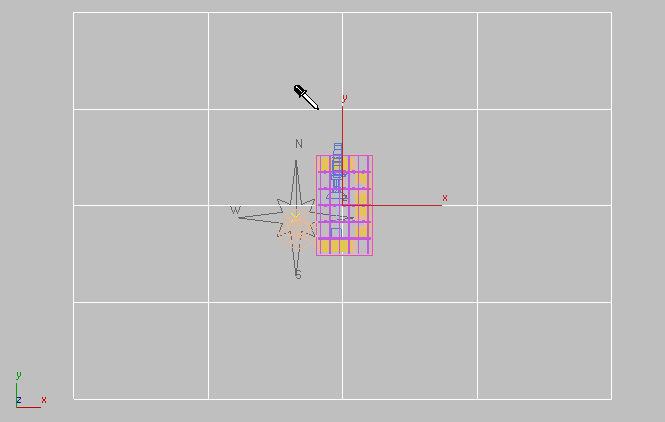
The eyedropper barrel is empty, indicating that no material exists. If you position the eyedropper over another object in the arena model it appears full, indicating that a material is present.
Because the ground object has no material applied to it, it is considered to have an invalid material.
Diffuse group, click the Color swatch.
 (Assign Material To Selection) to apply the material to the Ground object.
 Close the Slate Material Editor.
Check the Lighting Analysis status again:
Now the status line should display “Status: 0 Invalid Settings.”
Now that you have set up the scene properly, you can create a Light Meter. For lighting analysis to take place, at least one Light Meter must be present in the scene.
Layers list, choose Light Meters.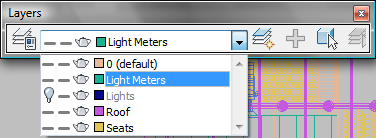
Any Light Meter you now create will be added to this layer for easy selection later on.
 Zoom in so you can see the floor plan of the arena.
Now you will create a Light Meter for the tennis court area.
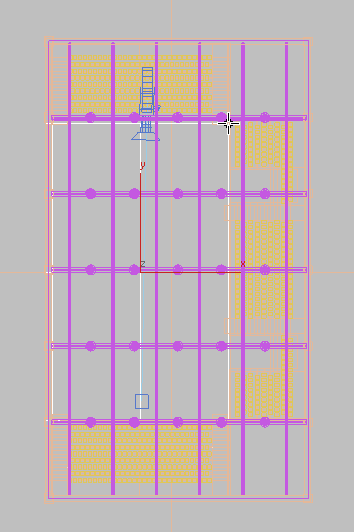
Tennis court surface to receive lighting analysis
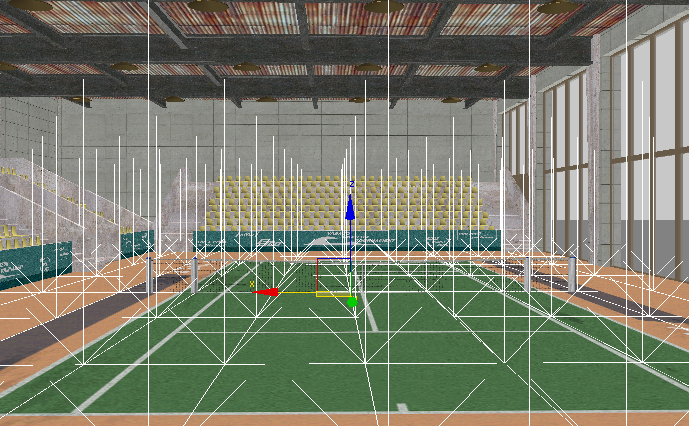
By default, 3ds Max Design creates a 3 x 3 grid of light sampling points. You need to increase the sampling density.
Adjust the Light Meter settings and position:
 Modify panel Parameters rollout Dimensions group, set Length Segs to 9 and Width Segs to 11.
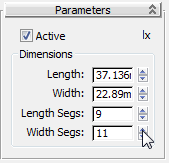
In the viewports, you can see each light sampling point as a vertical arrow. Because Light Meters are helper objects, you can move them around like any other object in a scene.
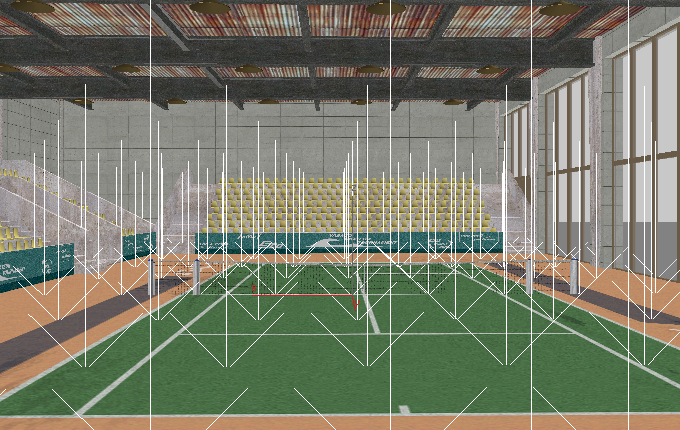
Light Meter helper object with sampling points embedded in court surface
 (Select And Move), then in the Z-axis transform field, type 0.055 and press Enter.
Light Meter helper object after adjustment of its Z-axis position
The ground object is five centimeters thick, so the 0.055 value places the sampling points a half centimeter above it.


