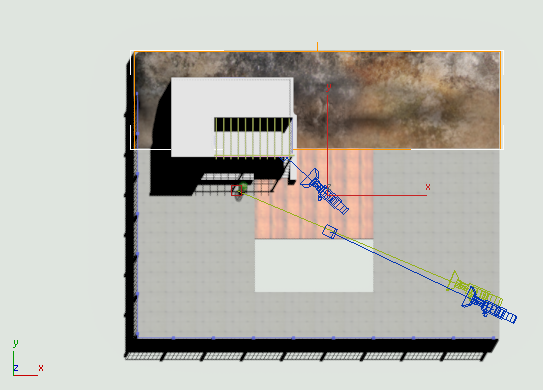
The terrain is an oblong of undeveloped land behind the terrace. The house rests partly on the terrace, and partly on the terrain.

The terrain texture
 click to select the terrain object.
The terrain is easiest to see if the viewport is shaded. If it isn’t, press F3 to turn on shading.
Terrain object selected in the Top viewport
 (Show Shaded Material In Viewport) to turn it on. (If you use a legacy viewport driver, this button's tooltip reads, "Show
Standard Map In Viewport.")
(Show Shaded Material In Viewport) to turn it on. (If you use a legacy viewport driver, this button's tooltip reads, "Show
Standard Map In Viewport.")
 (Assign Material To Selection).
The map doesn’t appear in viewports yet because the terrain object is also an editable mesh, and requires a mapping modifier.
 Modify panel, choose UVW Map from the Modifier List drop-down list.
Planar mapping is appropriate again, in the case of the terrain.
On the UVW Map  Parameters rollout, turn off Real-World Map Size.
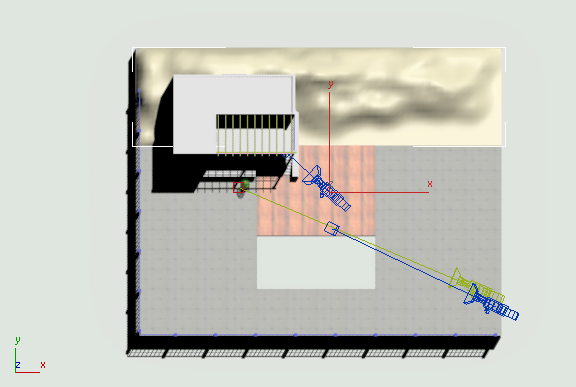
Now the map is visible in shaded viewports.
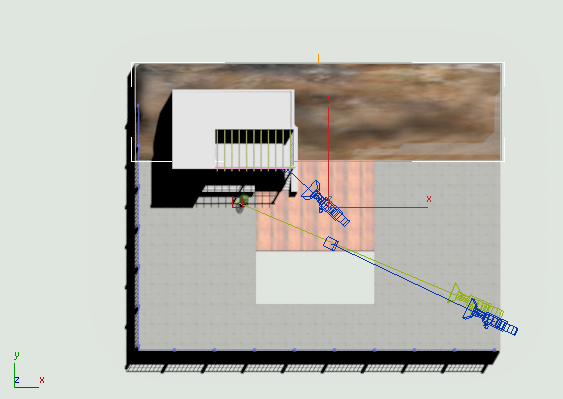
The map still appears to be squashed: This is because the original texture is square, while the terrain object is oblong. You can fix this by cropping the map.
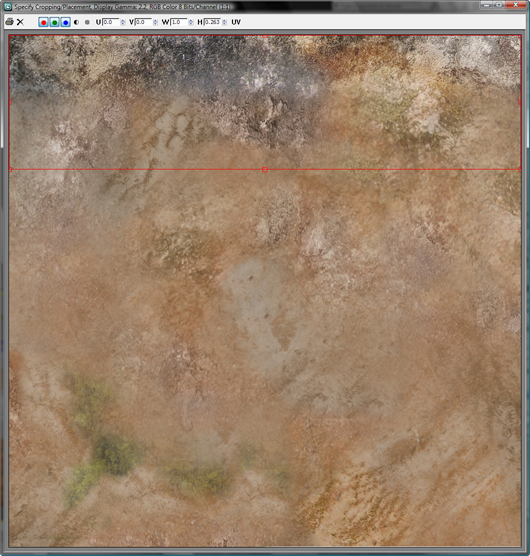
Cropping/Placement group, click the View Image button.
3ds Max Design opens a Specify Cropping/Placement dialog. It displays the map, surrounded by a red box with square handles. You can move the box, or use the handles to resize it.

 Close the Specify Cropping/Placement dialog.
Cropping/Placement group, click Apply to turn it on and apply the cropping. (Make sure Crop and not Place is the option chosen
just below the Apply toggle.)
Close the Specify Cropping/Placement dialog.
Cropping/Placement group, click Apply to turn it on and apply the cropping. (Make sure Crop and not Place is the option chosen
just below the Apply toggle.) 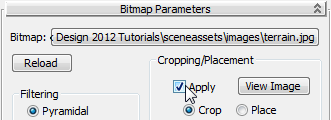
Now the terrain map fits the terrain object.