In this lesson, you will use a combination of cloning and vertex editing techniques to quickly create more cabinets of various heights and widths.
 open kitcab_3.max.
Create a 24 inch-wide lower cabinet:
 (Select And Move).
 Object group, make sure Copy is turned on.

You are specifying the value 24, because the cabinet you are about to create will be 24 inches wide.
 zoom in on the lower cabinets.
  Polygon Modeling panel, click Modify Mode.
  Polygon Modeling panel, activate
  (Vertex).
 Region-select the left side of the new cabinet so all its vertices are selected.
 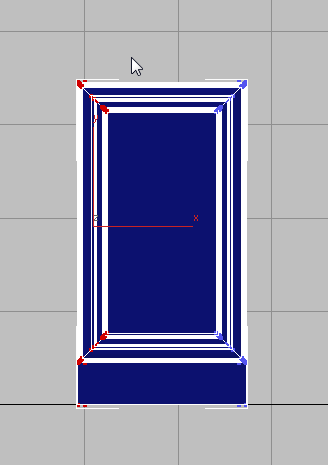 (Select And Move).

 (Absolute Mode Transform Type-In) to change to Offset transform mode.
  Region-select the right side of the cabinet so that all its vertices are selected, and in the X transform field, enter 3.0.
You are enlarging the cabinet equally on either side to ensure that the cabinet’s pivot point remains in the center of the object.
Create double doors for the new cabinet:
Cabinets that are 24 inches wide generally have double doors rather than a single one.
Polygon Modeling panel, click  (Element). In the viewport, select the cabinet door.
(Vertex) to activate vertex selection.
(Element). In the viewport, select the cabinet door.
(Vertex) to activate vertex selection.
Holding down Ctrl while you click this button selects all the vertices that were in the previous Element selection.
(Select And Move).
Make sure that the Reference Coordinate System is still set to World.
By moving the remaining selected vertices to the left by 12 inches, you just created a 12-inch door.
 Polygon Modeling panel, click (Element).
 Shift+drag the door to the right until it is in position over the opposite side of the cabinet.

 (Element) again to exit sub-object selection.
Create a 21-inch-high upper cabinet:
Shift+drag the object on its X axis to the right.
Object group, choose Copy, and in the Name field, type HiCab_18_21, then click OK.
You are specifying the value 21, because the cabinet you are about to create will be 21 inches high.
Polygon Modeling panel, click (Vertex).
region-select the bottom of the cabinet so that all its vertices are selected. 
This value represents the full height of the 39-inch upper cabinet, less 18 inches, to give you a 21-inch high cabinet.
Now that you have resized the cabinet, you will discover that its lower shelf is now exposed.
Polygon panel, click (Element).
select the exposed shelf, then press Delete.
Region-select the remaining shelf, then move it upward on its Z axis.
(It is hard to select the shelf by clicking the cabinet.)
 Polygon panel, click (Element) to exit the Element sub-object level.


