You are now ready to import the AutoCAD file into 3ds Max Design and use it to create the general structure of the 3D room.
Set up the units:
The AutoCAD file you are importing is measured in feet and inches. It is best to use the same units setting in 3ds Max Design.
- Start
 3ds Max Design.
- From the Customize menu, choose Units Setup.
- In the Units Setup dialog, choose US Standard
 Feet With Fractional Inches. Leave the other values set to their defaults, and then click OK.
Import the DWG file:
- From the
 Application menu, choose Import.
3ds Max Design opens a Select File To Import dialog.
- Browse to the folder \import\AutoCAD_files\ and choose the file wt_2dplan.dwg, or use the one you created yourself in the first lesson.
After a pause, an AutoCAD DWG/DXF Import Options dialog appears. If you get a warning about proxy objects, just click Yes.
Adjust the import options:
- On the Geometry tab of the AutoCAD DWG/DXF Import Options dialog, leave the settings at their defaults. (These are shown in
the following illustration.) Before you click OK, you must change settings on the Layers tab.
- Click to go to the Layers tab.
- Choose Select From List to enable individual layer selection.
At first, all the layers are selected.
- Click Invert.
Now none of the layers is selected.
- Click the 3Dwalls layer to select it, and then click OK.
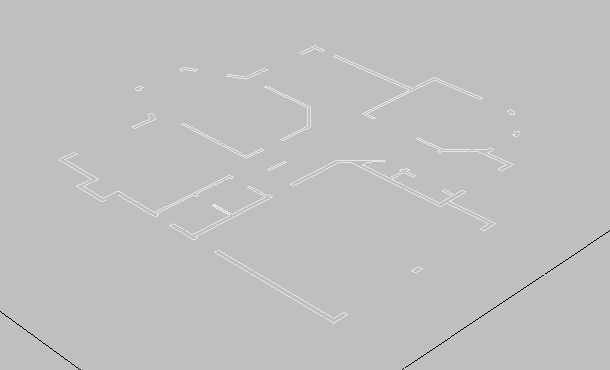
3ds Max Design imports the floor plan, which should appear similar to the following illustration.
Save the scene file:
- From the Application menu choose Save As, and save the scene as my_wt_floorplan.max.