


This topic describes all the settings available in the 3D Model tab of the Import Settings window. Settings vary depending on what you select in the File format box.
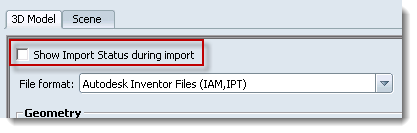
Select this to have the Import Status window open (and stay open) when importing models. This can be helpful to view import progress, and to make sure that all objects are imported as expected.
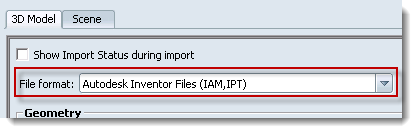
Select the file format whose settings you want to adjust. This selection determines what other controls and settings are available in the window. The changes you make in this panel are also saved with the file format.

Showcase imports the visible geometry from the selected Revit view:

Select the LOD you want for the model for the file type. See Change the LOD of an imported object.
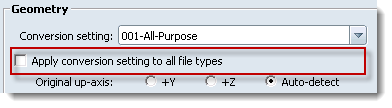
If you select this, all file types will use the LOD you selected in the Conversion setting box. If you then deselect this, the settings for each file type are returned to their previous state.

If the model was built in a Y-up application such as Maya, it will appear sideways and mirrored. Use the Up-axis setting to reorient the model.

This control is only available for Autodesk Inventor files. Select it to convert design view and positional representations into Showcase shots, alternatives, and storyboard slides.

This control is only available for JT files. Select this if you want to re-tessellate the splines in the file after import, rather than keep the existing triangles.
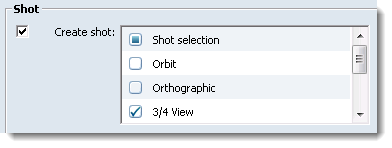
Showcase can create a series of standard shots for you when you import the file. With the Shot box selected, select the types of shots you would like to be created using the list in the Create shot box. Or, click Shot selection to select all types. After import, modify or delete the new shots as needed.
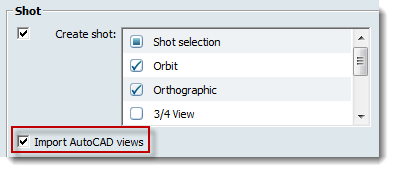
This control is only available for AutoCAD files. Select it to import AutoCAD views as still shots.

This control is only available for FBX files. Select it to import all cameras that are in the FBX file.


