A custom environment library is required to create and save any new custom environments. User edits or additions to the default library are not allowed.
Be sure that all users of the scene file have access to the library files, or that you include the environment files with your scene files.
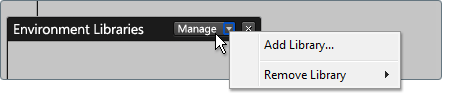
The environment library management menu appears:
The new environment library location is displayed in alphabetical order (by path-name) in the Environment Libraries section.
To share environment libraries with other users:
If you wish to allow edits or saving new environments to the library, enable write access for selected users as well.
Custom environment library paths are stored for each user of Showcase in their personal userPrefs.xml file in the My Documents\Autodesk Showcase2012 folder. If you switch users or machines, you will not see the same custom environments unless they are defined in the userPrefs.xml file for the local user.


