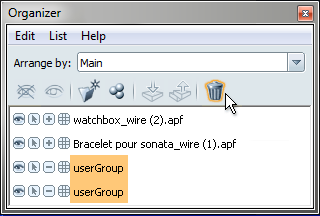
You might want to place a group of objects in a separate folder so you can select them repeatedly, move them together, assign materials to them, group them for turntables, or hide them all at once.
Use the Main view to rearrange objects for your own needs. You can access it from the Arrange by menu in the Organizer.
You can also set up other views by adding arrangements. (See Create additional arrangements in the Organizer.)
You cannot reorganize folders or objects in the Files (locked) or Layers (locked) arrangements.
If you place objects under other objects (parents) that have been transformed, you can also choose to have the moved objects transformed to match the transformations of their new parents. In this case, turn off Edit > Maintain Object Positions When Reorganizing. The objects may move unexpectedly.

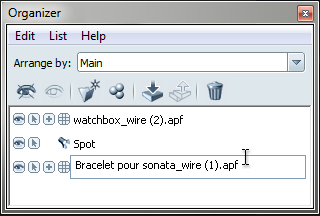
To move folders or objects under a folder:


If Edit > Maintain Object Positions When Reorganizing is checked (the default) and you drag an object into a transformed group, that object will not be changed by the existing transform. In the case of scaling, the object will be scaled in relation to the group’s scale so that it appears exactly the same size.