You can load images and textures into the as stencils and project part or all of the image as paint onto your sculpted model using the tool.
- From the tray, select a stencil image you want to project as paint.
The stencil image is loaded into the center of the . You can scale, rotate, and tile the stencil image (and dolly, track, and tumble the camera) to position the stencil and
model in relation to each other before applying the tool.
- Select the tool from the tray.
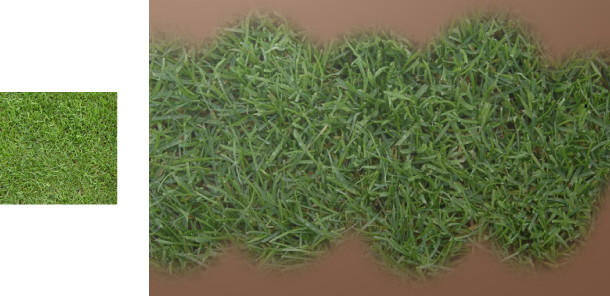
- Stroke across the stencil image where you want it applied as paint to your model.
The stencil disappears as you stroke, but the effect of the stencil appears on the model. To show the stencil image when you
stroke, turn off the property in the section of the tool properties.
NoteYou must have at least one paint layer to paint on a model. If you have not yet created a paint layer, the window displays automatically the first time you paint. See also
Create a new paint layer.
- When finished with the tool, click the icon in the tray to unload the stencil from the .
Tip
Press Q to temporarily hide the display of the stencil.
NoteThe default color for the tool is white. This ensures that the original color of the stencil image is applied when you stroke over a stencil. You can
tint the color of the image by modifying the property for the tool.