You can load images into the and use them as color stamps. Painting the model with a stamp is like painting a decal or tattoo directly on the model. That
is, each time you click the model with a stamp loaded onto the , the image is applied to the model.
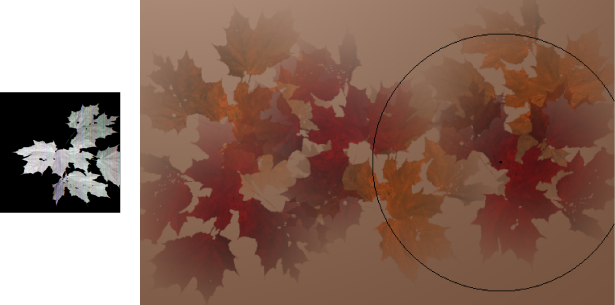
You can produce an infinite variety of paint brush effects based on the combination of bitmap images and brush property settings.
- Select the from the tray.
- To load an image as a stamp, do one of the following:
- From the tray, select an image to apply as a paint stamp.
- In the , select an image, then click the icon
 . See also Using the Image Browser.
NoteA stamp image does not automatically appear in the tray until you save it as a preset by selecting in the tray menu (

).
- Paint on the model.
The image is applied as a single image stamp.
NoteYou must have at least one paint layer to paint on a model. If you have not yet created a paint layer, the window displays automatically the first time you paint. See also
Create a new paint layer.
- When finished using the stamp, click the icon in the tray, otherwise the stamp remains active on the tool.
NoteThe default color for the is white. This ensures that the original color of a stamp image is maintained when you load a stamp onto your brush. Keep
this in mind if you change the brush color then assign a stamp. You can tint the color of a stamp image by modifying the property for the tool.