


In the following procedure, you send a conventional 3ds Max bone system skeleton to MotionBuilder.
To send a conventional 3ds Max skeleton to MotionBuilder:
 ), select Reset.
), select Open
), select Reset.
), select Open  Open.
Open.
The File Load: Gamma & LUT Settings Mismatch dialog appears.
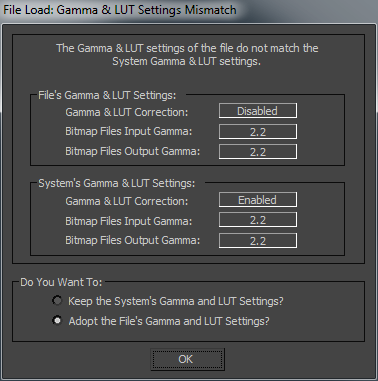
File Load: Gamma & LUT Settings Mismatch
If the File Load: Unit Mismatch dialog appears, proceed to the next step. If this dialog does not appear, skip the next step.

File Load: Units Mismatch
The 3ds Max scene loads, displaying two skeletons. The skeleton to the left is created with the conventional 3ds Max bone system, and the skeleton to the right is created with the 3ds Max Biped creation option.
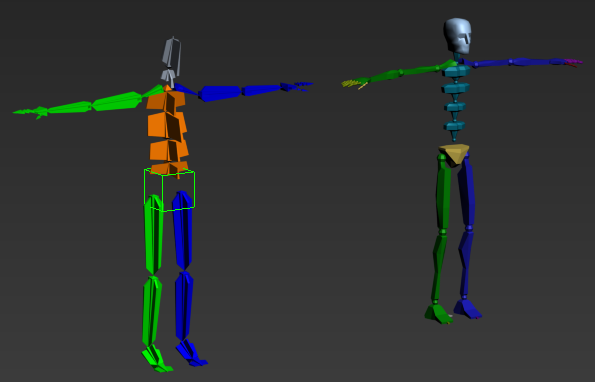
Conventional 3ds Max bone system skeleton and 3ds Max biped
The skeleton and biped are positioned in a “T” stance, the pose used by animators for skinning.
 Drag across the (3ds Max bone system) skeleton to the left to region-select the skeleton.
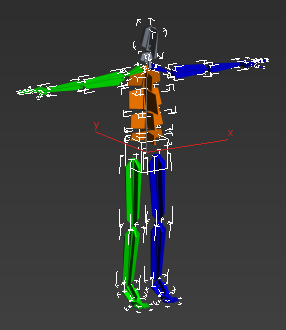
3ds Max skeleton positioned in a T-stance
), select Send to Send to MotionBuilder Send as New Scene.
The 3ds Max scene (bone system skeleton and camera) loads into MotionBuilder.
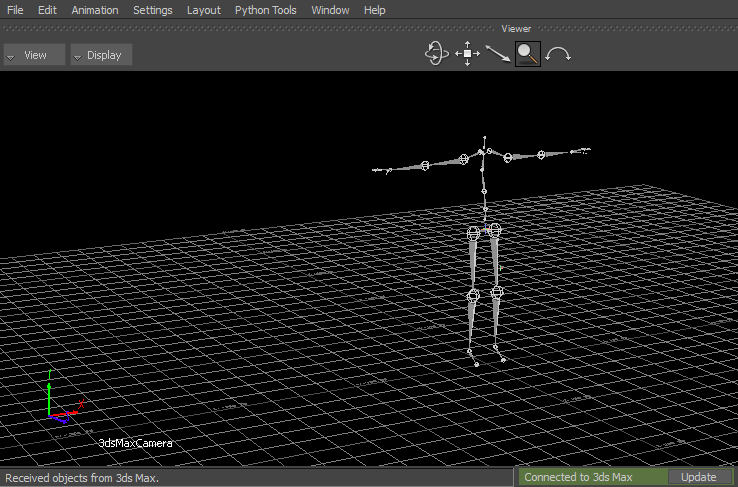
3ds Max skeleton displayed in the Viewer window
The established connection between 3ds Max and MotionBuilder is indicated in Viewer window status bar ( ).
).
Now that your skeleton is saved as an .fbx file, you can use it in the next procedure (Characterize the 3ds Max skeleton).
 Except where otherwise noted, this work is licensed under a Creative Commons Attribution-NonCommercial-ShareAlike 3.0 Unported License