
 。
。
 。
。
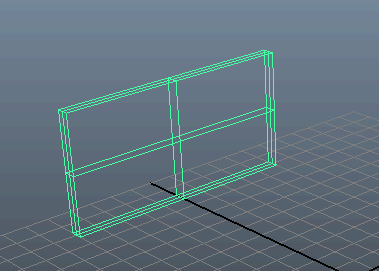
 。将“碰撞对象形状类型”(Collider Shape Type)设置为“壳线”(Hull)。(如果选择任何非“壳线”(Hull)作为形状类型,则碎片受到任何触动都会相交和炸开。)
 。
。
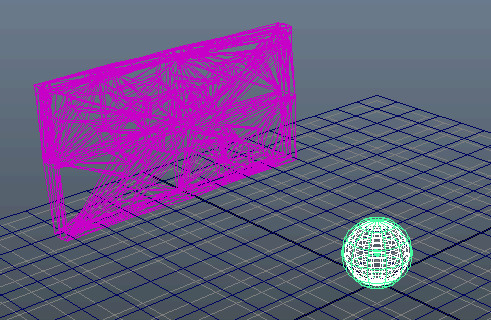
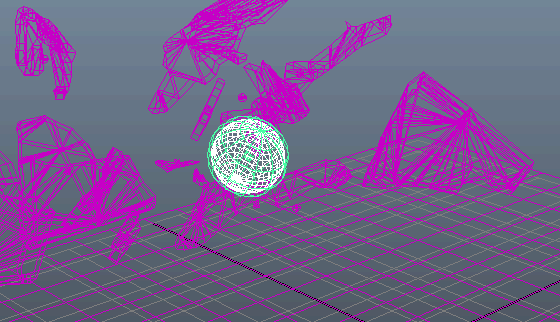
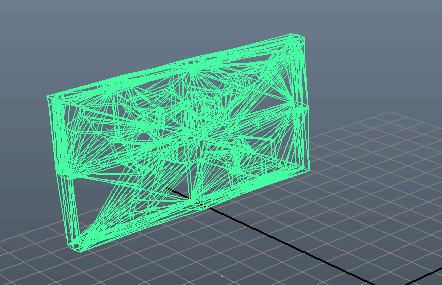
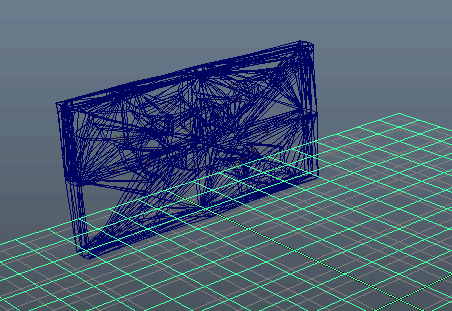
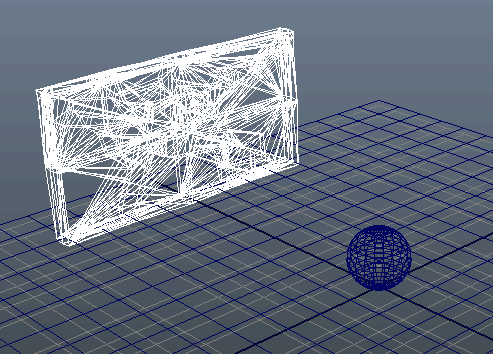
使用“属性编辑器 > 解算器特性”(Attribute Editor > Solver Properties)部分中的“属性编辑器 > 调试绘制”(Attribute Editor > Debug Draw)设置查看该刚体碰撞形状是否与源网格紧密适配及偏移是否正确。使用刚体“自动适配”(Auto Fit)属性自动选择正确的偏移。


