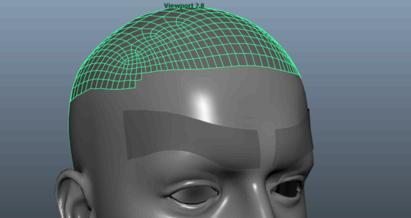
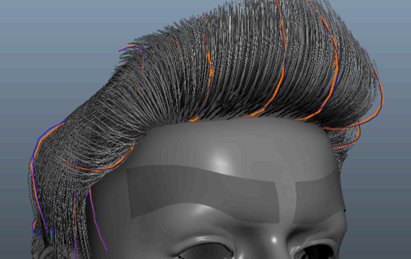
You can use nucleus dynamics to animate hair with Maya Fields and forces.
NoteWhen you use this method all hair influenced by XGen guides is dynamic. There is no way to exclude guides from the animation.
To add nHair dynamics to animated guides:
- Load a polygon object into the scene. (This worklfow uses a head and illustrates hair but the same techniques apply to adding
dynamics to grass.)
- Open the window, if it is not open already. (XGen > Open the XGen Window).
- Select the polygon surface or faces and click . A Description is a pattern for generating primitives. See Create XGen Descriptions.
- Click the
 button and turn on so you can see the guides when they animating the simulation,. To show only the guides updating, set the preview density
to 0. This speeds playback as it only draws the guides.
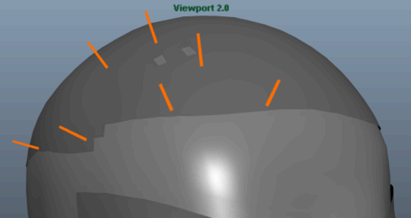
- Once your XGen Description is created, select the Add or Move Guides tool
 and place a few guides on the scalp.
- To shape the guides so you can create a hair style, select all the guides and go to the Utilities tab and select the utility. Also see Shape guides for information on how to control the direction of your XGen guides.
- Once you have a shape you like, and are ready to animate the guides, select the Primitives tab and go to the section.
- Turn on the option, and click in the section.
- In the Make Curves Dynamic Options window that appears, select as your output and turn on all the options.
- Click. This generates the Hair System, including the output curves, and Nucleus solver. The mesh is converted to a passive collision
object.
- To view the animation, in the window, expand and select all the curves.
- With still selected, click in the section.
- You can now animate the Hair system by applying different behaviors to the spline primitives using Fields,
You can now animate the AnimWires by applying different behavior to the spline primitives in the Modifiers tab, such as  .
.
- Set the timeline to at least 1000 frames and click .
 Except where otherwise noted, this work is licensed under a Creative Commons Attribution-NonCommercial-ShareAlike 3.0 Unported License


 button and turn on Update Preview Automatically so you can see the guides when they animating the simulation,. To show only the guides updating, set the preview density
to 0. This speeds playback as it only draws the guides.
 and place a few guides on the scalp.

 .
.

 Except where otherwise noted, this work is licensed under a Creative Commons Attribution-NonCommercial-ShareAlike 3.0 Unported License