This is the general workflow to create and animate nHair:
- Create hair on models
- Style hair curves
- Modify hair and Nucleus node attributes
- Set up hair shading/shadowing
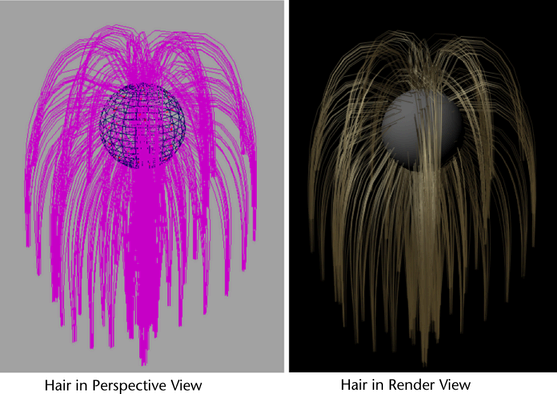
- Render the scene
An initial workflow could be:
Note
Topics in this section apply to nHair. For Maya classic hair specific topics, see Classic Hair.
- Create a sphere and convert it to a passive collision object (nMesh > Create Passive Collider).
- Create nHair. Hair sticks out normal to the surface.
- Play the simulation. The hair falls due to Nucleus dynamic forces.
- Once the hair is relaxed, select the hair curves and set the from the . (nHair > Set Start Position > )
- Animate the sphere as required to see natural motion or move the sphere during interactive playback (nSolver > Interactive Playback) .
- Render the scene.