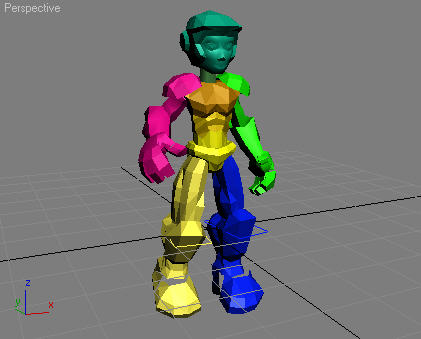
Limb controls are found on the Limb Animation rollout, which is available in both Setup and Animation modes.
Moving the IK Target Up the Limb
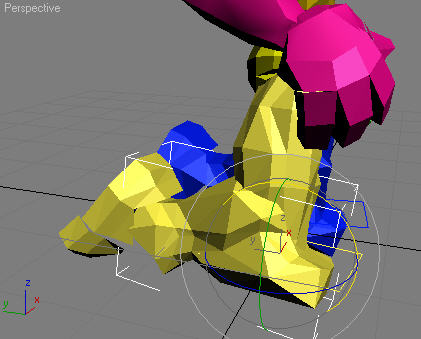
Traditionally the IK target sits at the end of the limb, but sometimes a different location is necessary. For example, for a crawling character, the IK target should be positioned at the knee. You can animate the IK target up and down the limb with the Num IK Bones setting.
Num IK Bones allows you to slide the IK target up and down the limb. The Num IK Bones value ranges from 0.0 to the number of bones on the limb, including the palm. For example, with a typical leg setup of two leg bones and an ankle, the range goes from 0.0 to 3.0.
Lowering the Num IK Bones value moves the IK target (for example, the Footplatform) up the limb, bone by bone. On a typical leg, the value 1.0 places the IK target at the knee, while a value of 0.0 places it at the top of the leg: the pelvis.
As the value changes, the limb is pulled down through the IK target. This is normal. The part of the limb that is beyond the IK target is in FK.

Num IK Bones=1.0

At this setting the lower leg can be rotated in FK.
To access to the Limb Animation rollout:
 The IK
controls for the limb are available for all limb bones. Select the
limb and go to the Limb Animation rollouts in the Motion panel.
To blend a limb seamlessly from IK to FK:
 Turn
on Auto Key.
 Click
the Match IK And FK button.
As you decrease the IK/FK value, the limb remains in the same place but is ready to animate in IK.
 Click
the Move IK Target To Palm button.
 Turn
on Auto Key.
The Limb Animation rollout provides access to the IK and FK settings for the limb.

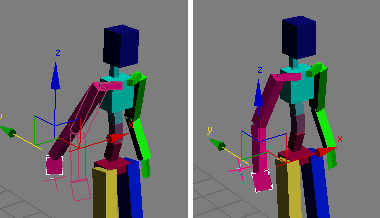
When on, and the limb is in IK, displays a ghost/wireframe image of the position the limb would be if using FK. This option is useful when you are animating to see quickly what the FK solution is doing when in IK, in case you are having issues with the IK solver bending in the wrong direction.
As you slide the IK/FK slider to the right, the limb gradually assumes the ghost position.

Left: Limb in IK, with Display FK Limb In IK on
Right: Limb in FK
This slider blends 3ds Max CAT's retargeting for the selected limb. At 0.0, retargeting is off, and a value of 1.0 means retargeting is fully on.