You can use a limb as an arm, leg, wing, and so on. Arms and legs are mostly similar in that they use the same IK system and have identical user interfaces. There are two differences between a leg and an arm in 3ds Max CAT:
A limb can contain up to 20 bones, each of which can comprise up to 20 segments. Any limb can have a collarbone or palm, as appropriate.
You can set up limb bones in any configuration. IK setup involves simply rotating the bones in Setup mode.
Bone segments rotate only around the center of their bone. They allow for features such as twisting forearms. You control their relative rotations with the Bone Twist Weight graph (see Editing Limb Bones).
The Palm, which by default is automatically placed at the end of the arm, holds the arm controls for blending the arm between IK and FK. It also allows for the creation of an IK target for the arm, keying of all the rotations on a limb, and holds the master controls for the digits (fingers).
3ds Max CAT supports seamless blending between IK and FK.
Each palm can have up to 100 digits and each digit up to 20 bones. Digits are set up with FK controls only. Digit controls include a weightable Digit Pose Manager and Digit modifiers for manipulating groups of digits.
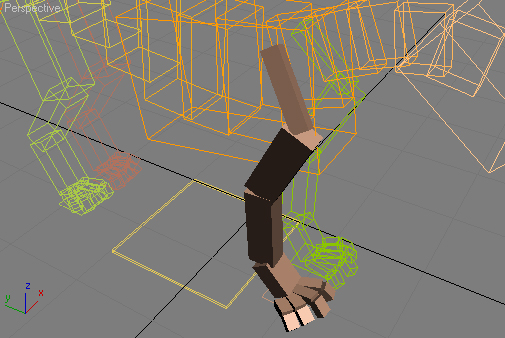
The front leg of the Panther rig


