When
specifying, for instance, a render file name, there is an option
for entering UDAs in the string. The UDAs may be scoped or not and
can be selected from the default lists available or can be created
by the user. See—
Creating UDAs.
To add a UDA to a render file name:
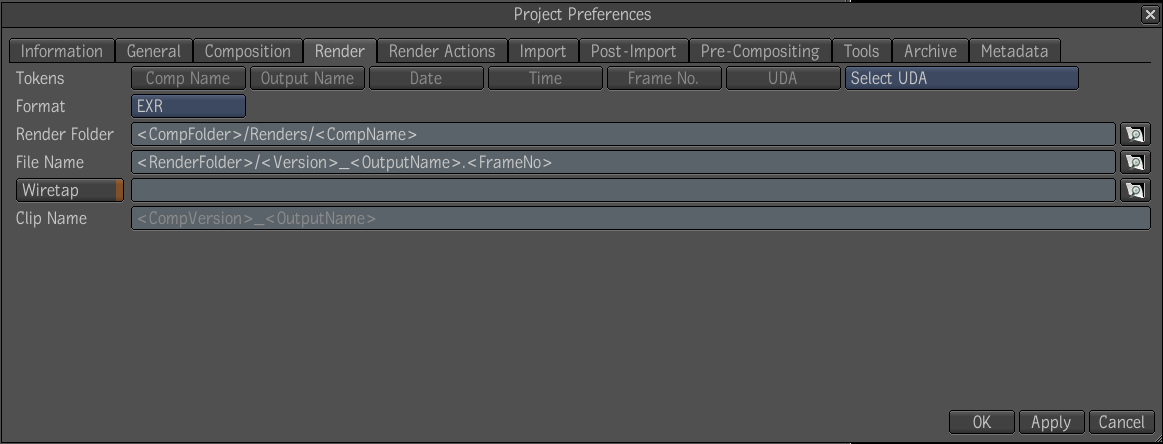
- Open the Project Preferences window by
clicking on the project icon in the task bar then select the Render
tab.
- Click open the Select UDA menu and select
the UDA you want to add to the File Name string. In this example
the scoped Project:Art Director UDA is selected, loaded and ready
to insert into the string.
- Place the cursor in the File Name string
where you want the UDA to appear and select UDA.
The UDA is added to the
string.
- Repeat steps 2 and 3 to add more UDAs
to the string.