If you are importing
a Maya file, make sure the following conditions are met:
- Maya 2010 and Toxik 2010 are installed
on the same system.
- Both applications are the same architecture.
That is, if you are running Toxik 2010 32-bits on Windows, then
you need Maya 2010 32-bits installed.
- A line is added to the toxik.ini file that
specifies the Maya location. The toxik.ini file
is in the C:\Program Files\Autodesk\Autodesk Toxik <version>\etc
folder. The line specifying the Maya location is in the toxik.ini file,
but commented out. You must delete the pound (#) sign. The line
must point to the Maya install directory. It does not matter where
you add the line, but it should be as follows: toxik::deployment::mayaLocation
C:/Program Files/Autodesk/Maya<version>.
To import a Maya file into Toxik:
- Select File > Import or press Ctrl + I(for Windows and Linux)
or Cmd + I( for Mac OS).
The File Browser is displayed.
- Locate the folder in which the Maya file (.ma or
.mb) resides.
- Right-click the Maya file you want to
import and select Import 3D Scene.
TipYou can also drag
and drop the Maya file into a particular Toxik folder, which sets
the destination of the imported 3D scene composition to the drop
folder. Otherwise, the destination is the project root folder.
NoteMaya files can only
be imported in Toxik one at a time.
The Embedded Script Console
displays the progress of the import.
- Open the File Browser using the
The Gate UI or
by pressing Ctrl + O(for
Windows and Linux) or Cmd + O(for Mac OS).
- Open the imported composition. The composition
name is based on the Maya file name but without its extension.
- Select the Reaction node to view the
layers.
WarningThere is currently
no mechanism in Toxik that locks imported objects to their original
values. If an object's values are changed by mistake, use the undo
feature or Ctrl + Z(for
Windows and Linux) or Cmd + Z( for Mac OS). Pressing Reset
will reset the values to the default settings of the identity matrix,
not to the original values of the object.
To view the imported objects in the Player:
- Right-click and swipe south to display
the Player options.
- Under the Reaction label, select Interactivity.
Under the Display label, select Tool Output.
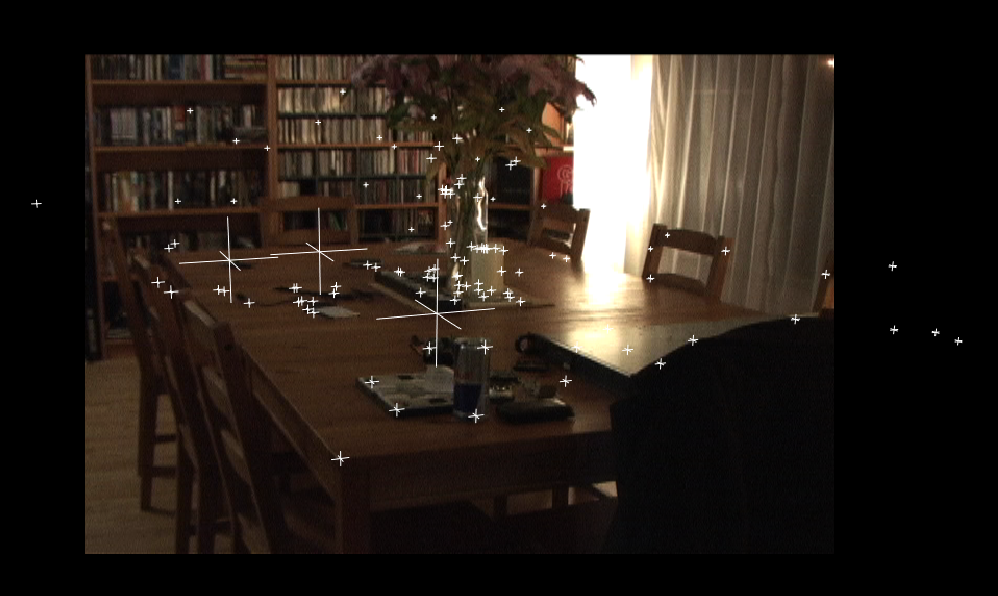
Imported objects are
now visible in the Player.
To view the camera image plane and its
properties:
- In the Layer Editor, select the camera
image plane layer.
Its properties are displayed
in the Reaction tab.
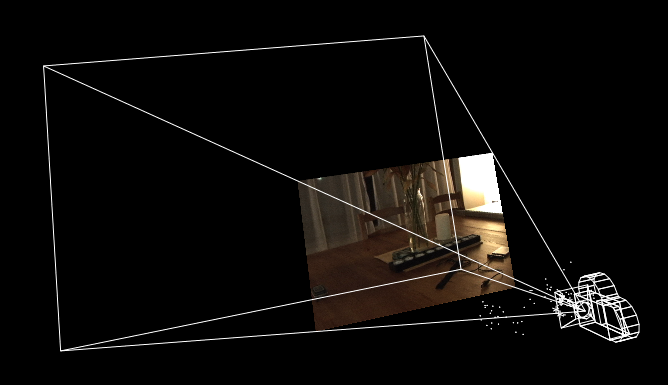
- In the Player, right-click and select
View From > Perspective or press Shift
+ 2 to view from the perspective camera.
To view locators and their properties:
- Select the Reaction node in the Schematic
view and then select the Locators tab.
To view the imported Maya transforms:
- In the Tool UI, select the Axes tab and
select an axis to view.
The imported Maya transforms
are displayed in the Player and their properties displayed in the
Axes tab.
To view the camera(s):
- In the Tool UI, select the Cameras tab.
- From the Cameras list, select Camera01.
The camera is selected
in the Player and its properties are displayed in the Cameras tab.
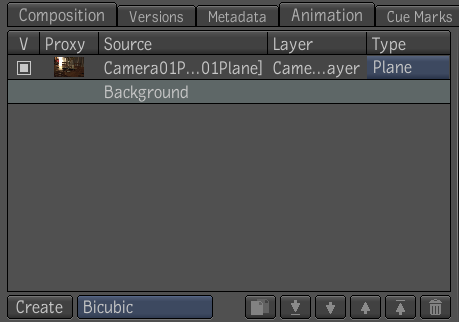
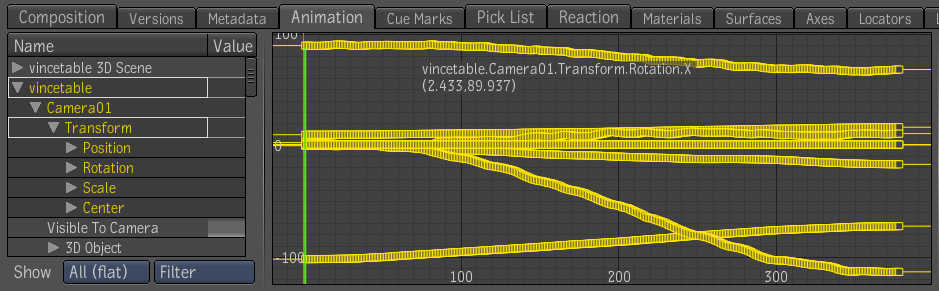
To view the camera animation:
- In the Tool UI, select the Animation
tab.
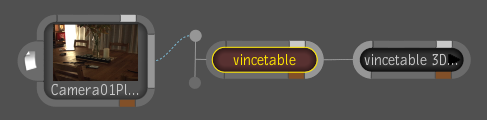
- In the Composition Browser, select the
Reaction node, which is named after the Maya file. Select Camera
> Transform.
The Animation Editor
displays the animation curves of the camera transformation. To accurately
represent the animation that was created in the Maya file, a keyframe
is set at each frame.