The 2D Transform tool lets you apply arbitrary transforms on an image and lets you add camera jitter, motion blur, or stabilizing to the image. You can also move, scale, rotate, and shear images in 2D with high quality filtering as well as concatenate transforms to avoid re-filtering.
The 2D Transform tool has the following parameters:

Transform generator
| Use: | To: |
|---|---|
| Transform generator | Create, delete, order, mute, solo and reset transforms. Solo (S) takes precedence over Mute (V) (a transform that's both soloed and muted is visible) while soloing a transform does not affect the muteness of other transforms, thus soloing a transform then un-soloing it does not lose state. |
| Transform Type | Set the type of transform. You can choose from 1 point, 2 point, 4 point, or scale, rotation, and translation and set source and destination values, as well as adjust offset parameters for tracking or stabilizing purposes—see Tracking and Stabilizing. |
| Transform value editors | Set the values of your transforms, you can also use the direct manipulators in the Player to transform the image—see 2D Transforms. |
To produce an affine transformation on an image:
Adding Motion Blur and Filters
Controls on the 2D Transform tool Output tab lets you add motion blur, filtering, and cropping to your image.
The Output tab has the following parameters:

| Use: | To: |
|---|---|
| Motion Blur | Add motion blur to the result image. Motion blur can be on or off; when on, there are controls for shutter speed and offset; the time interval over which the shutter is open is centered at the current frame time by default; the offset can be used to move it elsewhere. |
| Filtering | Filter the output image—see Cropping and Filtering the Output. |
| Crop | Crop the output image—see Crop Tool. |
Simulating Camera Jitter Using the 2D Transform Tool
To simulate camera jitter using the 2D Transform tool:
| Where: | Returns: |
|---|---|
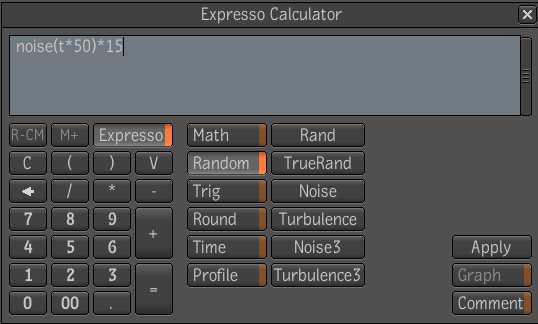
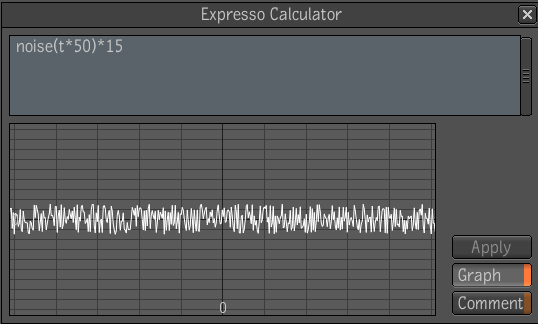
| noise (t) | A value between -1 and 1. |
| noise (t * 50) | A value between -1 and 1 and where “50" represents frequency. The larger the value, the longer the frequency of the resulting noise. |
| noise (t * 50) * 100 | Values between -100 and 100, where 100 represents amplitude. |

