To accurately display film clips, you can apply 3D LUTs to the image window, including the reference area and the reference overlay.
3D LUT display in the image window is only supported in modules that also support multiple viewports: Resize, the Colour Corrector (including the Colour Warper), Batch, and Action. It is also available for all A/V tools for which the EditDesk Module Editor is available. See Using the EditDesk Module Editor.
When you are working with multiple viewports, you can apply different 3D LUTs to each viewport independently.
To apply a 3D LUT to a clip in the image window:
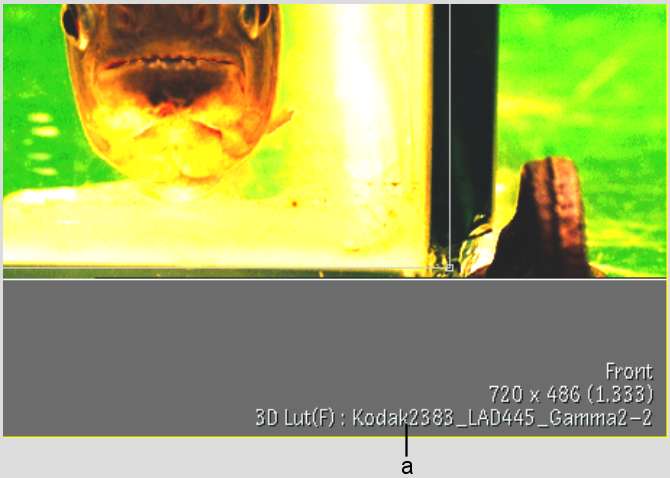
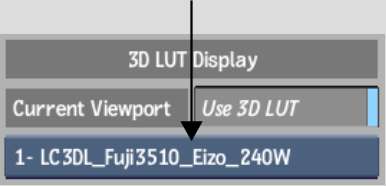
The 3D LUT displayed in the 3D LUT List box is applied to the viewport. Its name appears in the lower-right corner of the viewport. When the 3D LUT is on, its name is in light blue. When it is off, its name is in black.


(a) 3D LUT name in the viewport
Image courtesy of Technicolor (formerly Toybox)


| Press: | To apply: |
|---|---|
| Alt+Shift+1 | The first 3D LUT defined in the 3D LUT list. |
| Alt+Shift+[2-9] | The second through ninth 3D LUT defined in the 3D LUT list. |
| Alt+Shift+0 | The tenth 3D LUT defined in the 3D LUT list. |
Applying 3D LUTs to the Reference Area and Overlay
You can enable 3D LUT display mode, and then apply 3D LUTs to the frames displayed when using the reference overlay.
Working with Multiple Views and 3D LUTs
When you are working in a module that supports multiple views, you can apply different 3D LUTs to each viewport independently.
To apply 3D LUTs when working with multiple viewports:
The name of the current 3D LUT appears in the lower-right corner of the current viewport.