You can change the duration of an animation by scaling its channel horizontally in the Channel Editor. This allows you to change the number of frames it takes for an animation to play through, without having to move each keyframe manually.
There are two methods to do this: using the XScale edit mode in the Animation Curve window, or by dragging the left or right handle of a track in the Track Editor.
Using XScale allows you to scale the channel using any keyframe as the origin of the scale. Dragging with a track's handle scales the track proportionally vis-a-vis the opposite handle.
When changing the length of channels, you may want to adjust the number of frames of the clip in the Total Frames field. For example, if you shorten the length of all the clip's channels, you can then shorten the clips' frames accordingly. Or, if you scale the channels longer than the duration of the clip, you can then add frames to account for this.
To use XScale on a channel or group of keyframes:


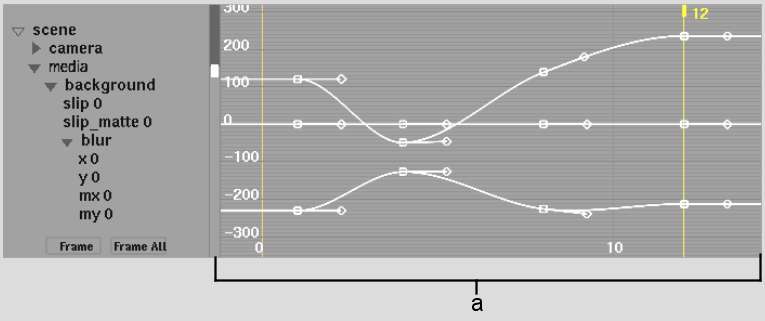
(a) Original animation curve


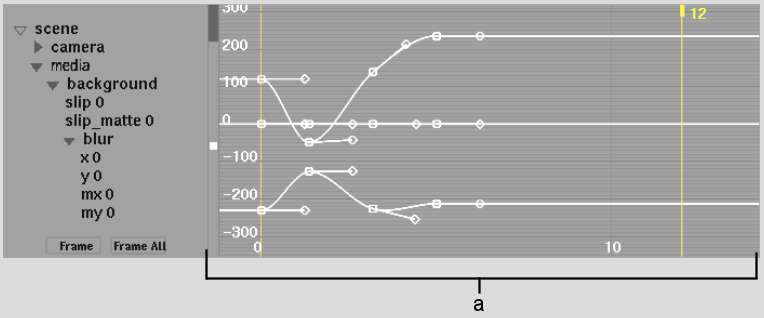
(a) XScale used to compress curves
To scale a channel in the Track Editor:
The track scales as you drag the handle vis-a-vis the opposite handle. All its keyframes are repositioned proportionally in time.


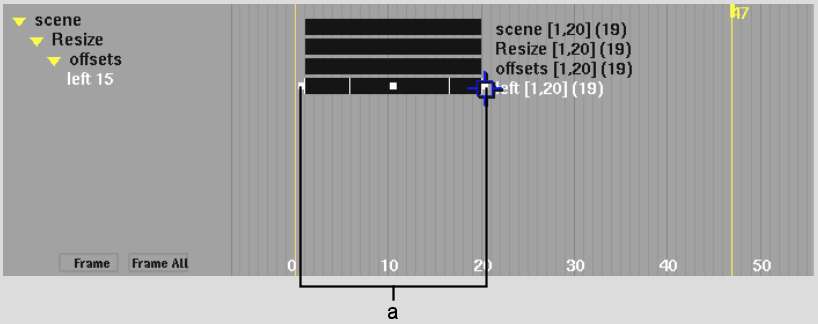
(a) Original animation track


(a) Dragging handle used to compress a track from 40 to 20 frames