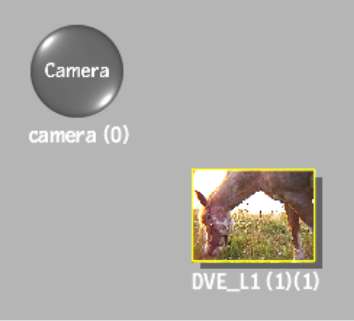
You can add DVE Layer Objects automatically when you open Action during a session, or when adding new media, by selecting Auto DVE in the Auto Image option box in the Action Setup menu (this is the default mode). You can also add a DVE Layer Object manually from the Action node bin.
To manually add a DVE Layer Object:
The DVE Layer Object is added to the scene as a single grouped node, and the Object tabs are populated with all of the objects that comprise the DVE Layer Object (except for Front and Matte sources). If you selected multiple media columns in the Media list, a DVE Layer Object node is added for each.
For information on the specific controls in the Axis menu, see Manipulating an Object's Axis. For details on the specific controls of the Image and Shadow menus, see Modifying Surfaces and Adding Shadows.


The newly created DVE Layer Object is named according to the media it is created from. For example, DVE_L1 represents a DVE Layer Object created from Layer 1.