When
you output a clip to a tape that already has media on it, you can
enable a split view to compare a clip with a portion of tape, in
much the same way as split view allows to compare two video segments
in the player. This can be especially useful if you are outputting
a clip to seamlessly overwrite a section on the tape.
To use the split view preview option:
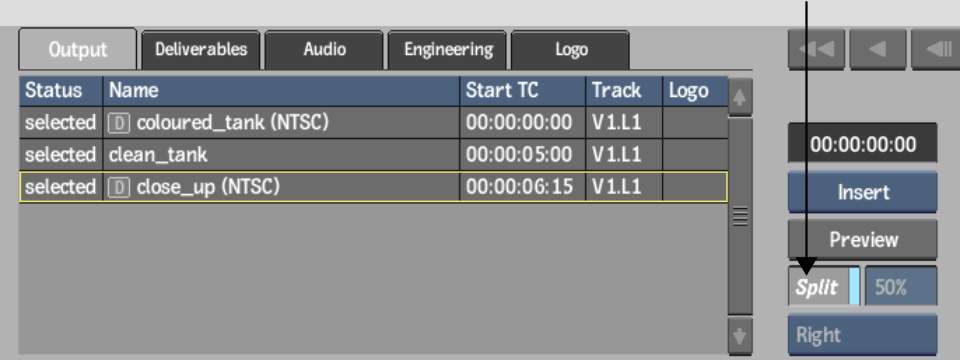
- In the Output tab of the Output Clip
menu, enable Split.
The Split View controls
are enabled and you can view the clip that is currently set for
output alongside the content on the tape.
- Set Split View preview options:
- In the Split field, enter a value to
set the relative position of the split.
- From the Current Clip Display box, select
an option to set the location of the current clip display.
- From the Split Orientation box, select
Horizontal Split or Vertical Split to set the Split View orientation.
- With Split View enabled, you can scrub
the VTR to locate the frame that matches the frame of the current
clip.
- Set the In point to the timecode of the
frame on tape that corresponds to the first frame of the clip.
- Cue to the In point. The first frame
of the clip and matching frame on tape are displayed in Split View.
- Click Play to play the tape and the clip
simultaneously in Split View.
- Click Stop, and disable Split View when
you are finished.