You can create many warps
on a single input clip. Each destination spline offset from its
source creates a warp on the clip. The following is an example of
a simple warp.
To create a warp:
- Once a spline shape has been made, click
Warp to display the Warp menu.
- From the View box, display the Result
view to see the spline shape over the input clip.
- Set the timebar positioner to the effect's
first frame.
- From the Warp menu, enable Source.
All Input1 source splines
are displayed.
- If necessary, adjust the vertices of
the shape by moving points or curve handles.
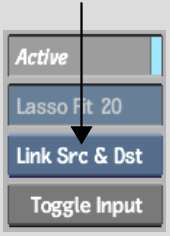
TipTo prevent the warping
of the clip as you edit a spline, make sure Link Src & Dst is
selected in the Link box. Otherwise, as you edit either a source
or destination spline, it will be offset from its corresponding
source or destination—this is what will eventually create
your warp. You can toggle between Link Src & Dst and Enable
Warp by pressing the W hotkey.
- Set the timebar positioner to the effect's
final frame.
- From the Link box, select Distort.
- Enable Destination, and then adjust the
vertices of the shape by moving points or curve handles. Edits to
the destination spline-based shape will produce immediate warping.
- Refine the warp as necessary. See
Refining Distortions.