Use the Magnet tool to define the shape of
the warped image. The Magnet tool warps the area of the mesh under
the Magnet. You can set the size of the Magnet and define its effect
on the selected area.
Note that the Magnet's
effect is most noticeable when the selected area includes many control
points (that is, when the grid has many patches, when you are using
a large Magnet, or both).
To use the Magnet tool:
- In the Warper menu, click Magnet.
- Place the cursor over the mesh and adjust
the Magnet size by pressing Ctrl+S and
dragging.
- Place the Magnet over the control points
you want to warp and click.
The affected control
points turn red.
- Drag the Magnet to produce the effect
you want.
NoteBy default, the Magnet
translates the mesh. To scale or rotate the mesh, select the Scale
or the Rotate option in the selection box beside the Magnet button.
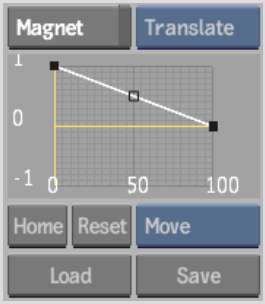
Customizing the Magnet's
Effect
You
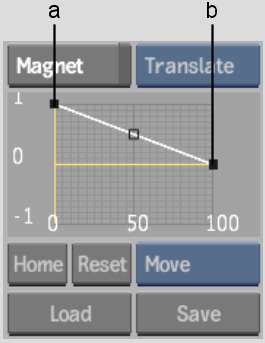
can customize the Magnet's effect by changing the shape of the curve
in the Magnet Curve Editor. Note that, by default, the Magnet has
the greatest effect on the pixels at the centre of the Magnet and the
least effect on the pixels at its perimeter.
To customize the Magnet's effect:
- In the Warper menu, click MEditor.
The Magnet Curve Editor
appears.
- Adjust the shape of the Magnet curve.
You can also use the
Edit Mode options to modify the curve.
NoteYou can save and
load custom Magnet settings using the Save and Load buttons in the
Magnet Curve Editor.
Tips and Tricks
You can experiment with
the Magnet curve to achieve different effects.
- Invert the curve to affect the pixels
at the perimeter of the Magnet more than those at the centre.
- Flatten the curve along the horizontal
axis to have the same effect on all pixels under the Magnet.
- Add extra control points and create a
sine or wave curve to make the control points move in opposite directions.
- Move the curve into the negative horizontal
axis to create a magnet with an opposing magnetic effect.


