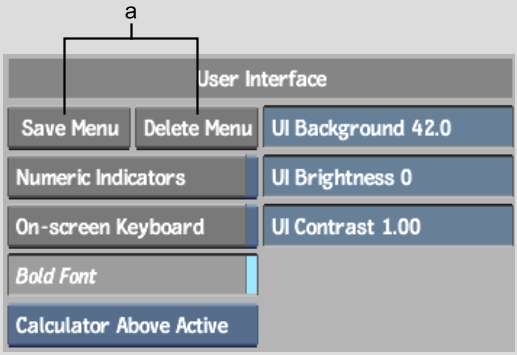
You can create a custom menu
setup by changing the size and location of buttons, fields, and
boxes on the interface using the User Interface menu.
All interface items are
aligned on a grid. To display the grid on the screen, press Ctrl+Alt+F9. Press Ctrl+Alt+F9 a second time to hide
the grid.
To select an interface
item, click it using the left mouse button. To select a group of
interface items, press and hold the Ctrl key
while clicking each. Drag the control handles that appear on the
selected items to change their size. To move a selected item, press
and hold on the item and drag it to the desired location. To reposition
the button title text, click the button with the centre mouse button
and drag the text to the desired location.
WarningThere are a number
of hidden buttons in the menus. Do not alter these buttons as you
may affect the functionality of Flame.
Saving a Custom Menu Setup
After modifying the menu
setup, you can save your custom setup to use in later work sessions.
To save a custom menu setup:
- Make changes to the default menus in
any location in Flame.
- Open the Preferences menu (Ctrl+Alt+F6).
- In the User Interface section, click
Save Menu.
The file browser appears.
- Click in the Filename field next to the
Save button, enter a name for your menu setup files, and press Enter. (It is not necessary to specify
a filename extension.)
The custom menu setup
is saved.
Removing a Custom Menu
Setup
You can remove custom
menu setups that you no longer need.
To remove a custom menu setup:
- In the User Interface menu, click Delete
Menu.
The file browser appears.
- Select the menu setup you want to remove.
- Click the Confirm button that appears
to remove the setup and return to the Preferences menu.
Loading a Custom Menu Setup
If you want to load a
custom menu setup, you must do so when you start Flame.
To start Flame with a custom menu setup:
- At the command line, type:
<filename>
where <filename> is
the name of the custom menu setup. (It is not necessary to specify
a filename extension.)


