Show in Contents

Add to Favorites

Home: Smoke

Creating Customized Wipes with Garbage Masks

Editing Wipes

Altering a Mask's Shape

Creating a Mask
Masks are controlled using the Wipe schematic.
When you create a mask, an Axis node and Geom node are added to
the schematic. The Axis node contains all the rotation, scaling,
and position data, and the Geom node contains all the information
about how the mask will affect the image (softness, opacity, alpha,
axis offset).
To create a wipe mask:
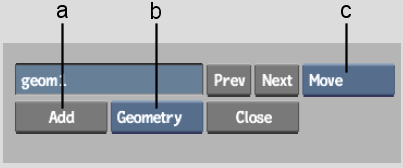
- From the Wipe Editor, click Mask.
- Select Geometry from the Element box.
- Click Add, or select Create from the
Edit Mode box.
TipYou may want to display
the outgoing or incoming clip while drawing the mask since the composite
is created in Result mode.
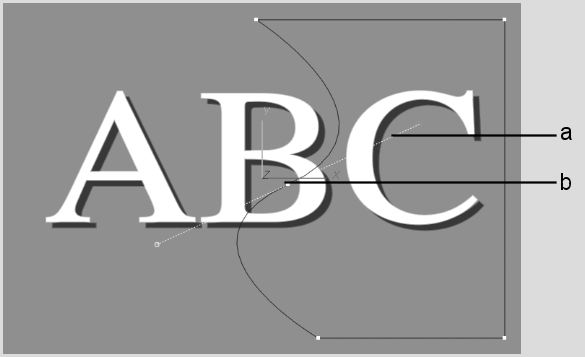
- Click the image to create the first point.
NoteIf you are drawing
a mask freehand, press Shift and
then press down on the cursor to draw the mask. When you release
the cursor, the mask closes automatically.
- Click again to draw the second point.
NoteIf you are not in
Auto Tangents mode, you can still create a tangent while setting
a point by clicking and dragging the cursor.
- To close the mask, click Close or click
the first point.