Creating a Project


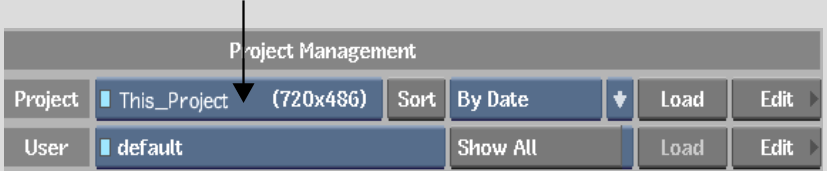
You can create a project on start-up from the Project Management menu or during a session from the Preferences menu.
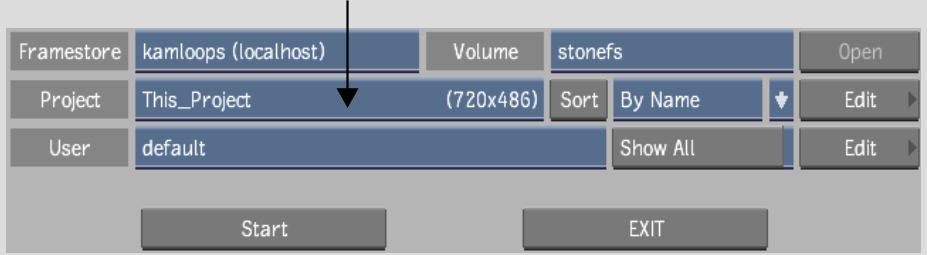
To create a project:

  1. Do one of the following:

    Show small imageShow large image

    Show small imageShow large image

    The Create Project menu appears.

    Show small imageShow large image

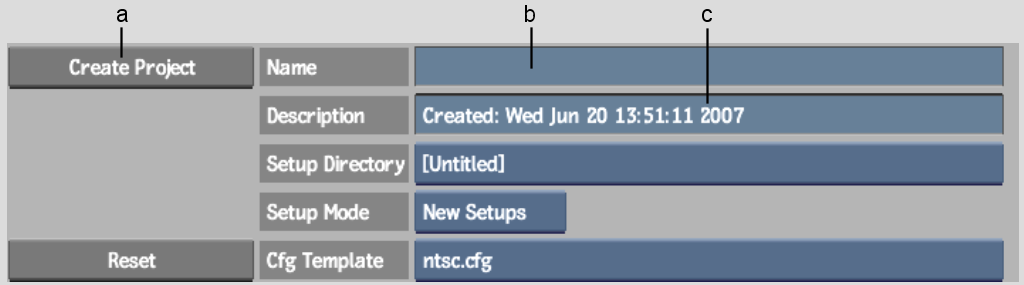
    (a) Create Project button  (b) Name field  (c) Description field  

  2. In the Name field, enter a name for the new project. Names can be up to 120 characters long.
  3. In the Description field, enter a description of the project.
    TipBy default, the creation date is displayed in this field. Click the field to activate the text cursor, press Esc to clear the contents of the field, and then type the description that you want to use.
  4. Set the home directory for the project. See Setting a Project's Home Directory.
  5. Set the default resolution for the project. See Setting the Default Resolution.
  6. Set proxy management options for the project. See Setting Proxy Management Options.
  7. Set the scan mode for the project. See Changing the Scan Mode of a Project.
  8. Select the graphics processing bit depth for the project, if applicable. See Setting the Graphics Processing Bit Depth.
  9. Select a project configuration template for the project. See Selecting the Project Configuration Template.
  10. To reset project settings, click Reset. You can edit a project's settings at any time.
  11. When you are satisfied with project settings, click Create Project.

    The project is created, and you are returned to the Project Management or Preferences menu.

    TipTo exit the Create Project menu at any time without creating a project, click Exit Project.