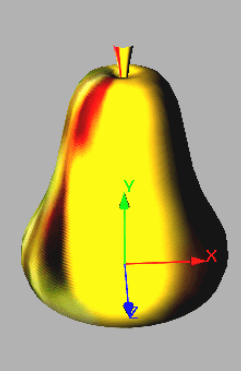
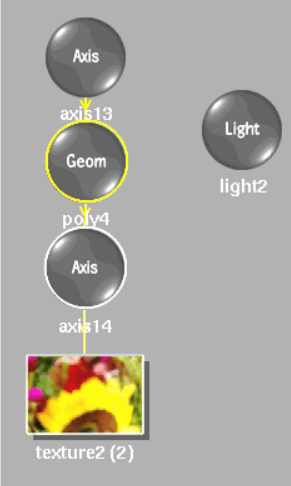
You can apply a texture to a surface, 3D model, or 3D text. You can move, rotate, scale, and animate the texture independently from the surface, 3D model, or 3D text. Since the texture and its axis are parented by the geometry node, animating the geometry's axis also animates the texture, which has the effect of keeping the texture properly in place on the model. A texture uses the specular highlight, diffuse colour, and shine set by its parent.
When adding a texture to a shaded surface, the texture is used when generating the shadow. The texture is only used to apply the colour to the shadow, so effects such as surface displacement will still reference the media associated with the surface. If a node has an applied texture, it is the matte setting of the texture that controls whether the object will be included in the various output mattes (scene matte, blend matte, for example).
A texture uses the front and matte of the media. If you do not want to apply transparency to your texture, turn its matte off.
The texture object is added to the schematic with its own parent axis. The new axis is the child of the selected 3D model.