The Colour Source tool generates a virtual source that contains one or more identical frames of a solid colour or SMPTE or PAL colour bars at 75% or 100% luminance. When you use the Colour Source tool to create a custom colour source, you can save that colour in the colour palettes. You can also use this tool to create frames composed of video noise. Noise clips are not virtual sources — each frame in the clip is unique.
To create a colour source or noise clip:
The Colour Source controls appear.


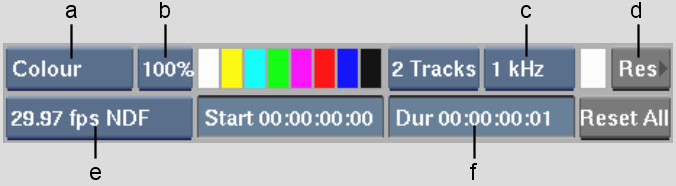
(a) Source Type box (b) Luminance box (c) Frequency box (d) Resolution button (e) Frame Code Mode box (f) Timecode field
| Select: | To generate frames of: |
|---|---|
| Colour | A solid colour. |
| Noise | Monochrome video noise. |
| Colour Noise | Colour video noise. |
| SMPTE Bars | SMPTE standard colour bars. |
| PAL Bars | PAL standard colour bars. |
| Select: | To generate frames of: |
|---|---|
| 60 fps | 60 frames per second (used for NTSC video). |
| 59.94 fps NDF | 59.94 frames per second Non Drop-Frame (standard rate for NTSC). If you use 59.94 fps NDF, its indicated timings will not accurately correspond with real time. |
| 59.94 fps DF | 59.94 frames per second Drop-Frame (standard rate for NTSC). This times the video accurately with real time by dropping the extra frames in the count. |
| 50 fps | 50 frames per second (standard for PAL). |
| 30 fps | 30 frames per second (mimics a film camera's frame-by-frame image capture). |
| 29.97 fps NDF | 29.97 frames per second Non Drop-Frame (frame rate for colour NTSC). If you use 29.97 fps NDF, its indicated timings will not accurately correspond with real time. |
| 29.97 fps DF | 29.97 frames per second Drop-Frame (frame rate for colour NTSC). This times the video accurately with real time by dropping the extra frames in the count. |
| 25 fps | 25 frames per second (good for LCD monitors or display formats that are not interlaced). |
| 24 fps | 24 frames per second (used to transfer a video signal to film). |
| 23.976 fps | 23.976 frames per second. This frame rate is used for NTSC DVD playback. |
The Resolution controls appear.
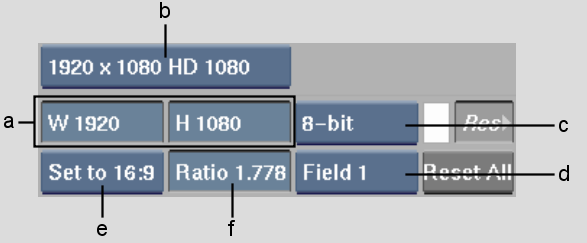
(a) Width and Height fields (b) Resolution Presets box (c) Bit Depth box (d) Scan mode box (e) Aspect Ratio Presets box (f) Aspect Ratio field
Once you create a colour source or colour bar clip using the Colour Source controls, you can use it as a virtual source. See Virtual Sources.
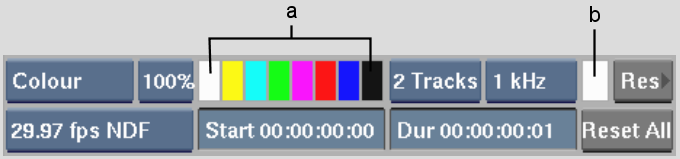
(a) Colour palettes (b) Source colour pot


