Show in Contents

Add to Favorites

Home: Smoke

Configuring Software for VTR Emulation

VTR Emulation

Using VTR Emulation to Output Clips

Starting a Session with VTR Emulator
VTR emulation procedures are similar to procedures
that you perform during clip input and output operations. When you create
a project at the start-up, you select the initial video I/O
timing for your project. All the clip I/O operations, including
VTR emulation, are restricted to this timing until you change its
value.
To
start a session with VTR emulation:
- Start
the application and select a user from the User box.
- From
the Project box, select the existing project or create a new project
and determine the video I/O option that corresponds to the format
of the emulator that you want to work with. For example:
- To
emulate an NTSC VTR, select 720 x 486 NTSC
- To
emulate a PAL VTR, select 720 x 576 PAL
- To
emulate an HD 1280x720 VTR, select 1280x720 HD 720
- To
emulate an HD 1920x1080 VTR, select 1920x1080 HD 1080
- To
emulate an HSDL device, select 2048x1556 Super35 2K or 2048x1536
Super35 2K. (See
Clip Input/Output Using HSDL Devices.)
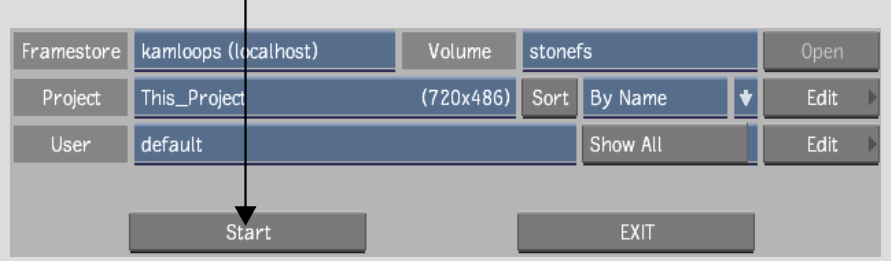
- Click
Start.