When you splice clips together, the location at which one clip changes to another is called a cut. A cut is useful when you want to extract part of an element or end a shot at a given frame.
You can make a cut at any point on the record clip. A cut creates a transition with a head equivalent to the duration of the segment before the cut and a tail equivalent to the duration after the cut. For example, if you make a cut after the 5th frame in a 10-frame clip, the cut has a tail of 5 frames and a head of 5 frames.
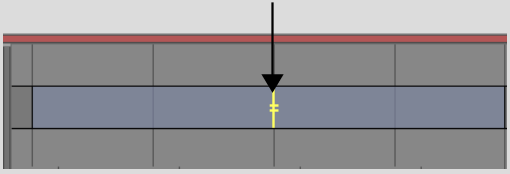
In a match frame cut, the outgoing and incoming shots are from the same source and the outgoing and incoming frames are consecutive. Match frame cuts are indicated by an “=” on the cut point.
In Head/Tail, Frames, and Storyboard views, the cuts between clips in the edit sequence are indicated with yellow lines. In Timeline and Trim views, the cuts between elements in the edit sequence are indicated with black lines.


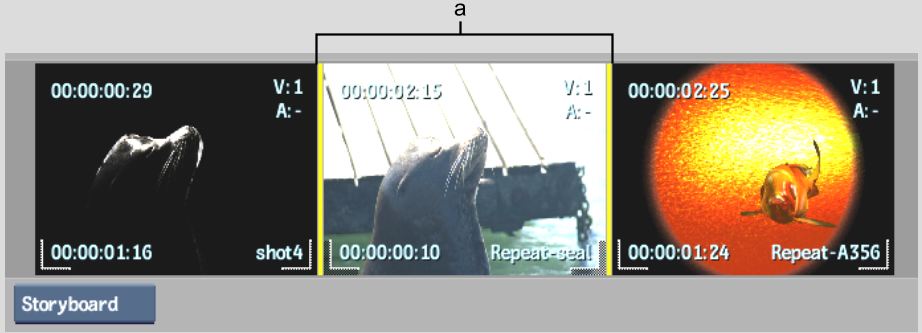
(a) Cuts between clips
Image courtesy of Quietman
A match frame cut is added at the specified location.
The cut is removed and the two elements are joined together.


