Show in Contents

Add to Favorites

Home: Smoke

Deleting Sources and Intermediates

Managing Clips with Clip History

Saving and Archiving Clips with Clip History

Committing a Clip with
History
You
can commit a clip with a history, or a clip segment with a history
just as you would any other clip. When doing so, you delete the
clip history without removing the clip or element's soft
properties.
You can also perform a hard commit from the
timeline. See
Committing Clips on the Timeline.
You can commit a clip with history from both
the timeline and a clip library.
To commit a clip's history from the timeline:
- Place the clip in the Record area of
the EditDesk.
- From the A/V Tools box, choose Commit
History.
- Click Confirm.
To commit a clip's history in a clip
library:
- In the EditDesk menu, select the clip
library you want to open, and then click the Clip Library box.
The current clip library
appears.
- In the clip library, select the clips
with clip history that you want to commit.
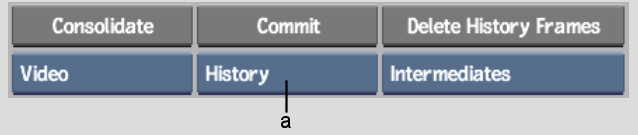
- In the Clip Library menu, click Tools.
- From the Tools menu, choose Consolidate.
The Consolidate controls
appear.
- Select History from the Commit Type box.
- Click Commit, and then Confirm.
The selected clip's history
is committed.