Show in Contents

Add to Favorites

Home: Flint

About Paint

Paint: Basics

Locking and Unlocking the Duration of a Clip

Loading Clips into Paint
When accessing Paint,
you first select the clips that you want to use. Any of the following
combinations of clips can be used in Paint:
- A front clip only
- A front clip and a back clip
- A front clip and a matte clip
- A front clip, a back clip, and a matte
clip
- None (a blank canvas)
The front clip appears
on the Paint canvas, which you can use to apply colours and effects
to the clip. The matte clip delimits the area of the front clip
affected by painting. The back clip can be revealed or brushed through
onto the front clip. The colour of the blank canvas is defined by
the wipe colour.
NoteThe image window
in Paint is referred to as the canvas in the
following sections.
To load clips into Paint:
- In the Main menu, click Effects, and
then Paint.
The Input Mode box appears.
- Select an option other than None from
the Input Mode box.
- Select the source clips.
- Select the destination reel.
The Paint menu appears.
- Access one of the following Paint menus.
| Click: |
To: |
| Paint |
Use the brushes or geometric shapes to paint on the canvas,
record and apply strokes to the canvas, fill areas of the image
with a reference colour or image, and move the image on the canvas.
|
| Graphics |
Create, edit, and animate shapes and apply them to the
canvas.
|
| CutOut |
Create and add effects to cutouts and apply them to the
canvas.
|
| Setup |
Set preferences, rendering options, grid guides, and
colour correction options.
|
To access the Paint menu with a blank
canvas:
- In the Main menu, click Effects, and
then Paint.
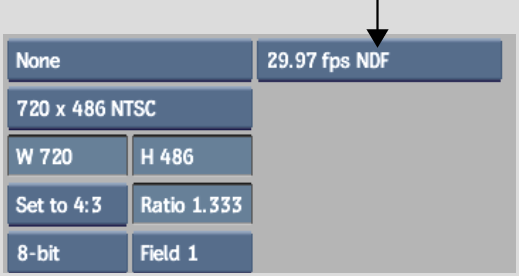
The Input Mode box appears.
- From the Input Mode box, select None.
The resolution controls
appear.
- Choose a resolution, width, height, pixel
aspect ratio, bit depth, and scan mode to apply to the background
in Paint. See
Resize Settings.
- Set the frames per second and drop-frame
values for the clip from the Frame Code Mode box.
- Select the destination reel.


