Show in Contents

Add to Favorites

Home: Flint

Filling a Region with a Colour

Filling an Image

Filling a Boundary

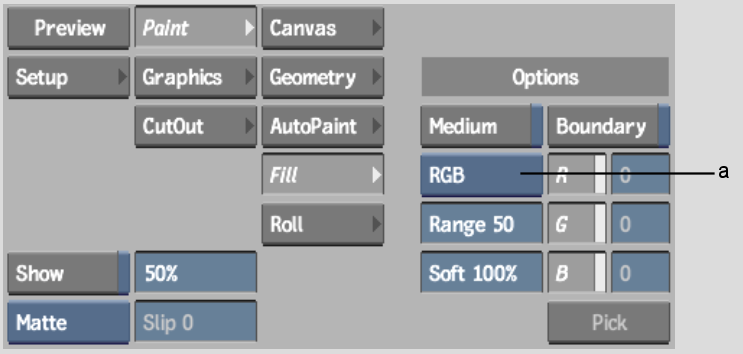
Filling a Region with an Image
You can fill a region of an image with a reference image
instead of a colour. The front, back, or result image can be used
as the reference image. The Wash, Shade, Clone, or Reveal media
can also be used to perform the fill.
To
fill a region with a reference image:
- Click
Fill.
The Fill controls appear.
- Select
the colour model and channels you want to work with.
- Set
the range and softness in the Range and Softness fields.
- Select
the Special Effects medium you want to use (Clone, Reveal, Wash,
or Shade). See
Using Special Effects Media.
- Set
the Reference box to Front, Back, Result, or Saved, and set the
brush opacity.
A value of 100% fills the area completely with
the reference image.
- Enable
Medium.
- Select
a point in the area you want to fill.