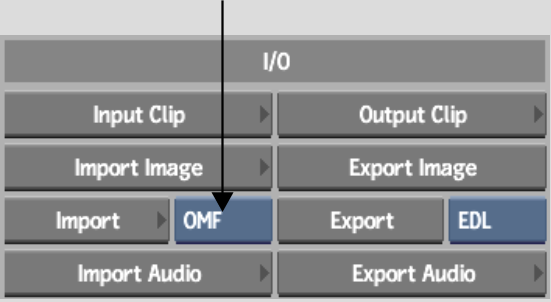
You can import an OMF file to the Desktop to recreate the original video and audio track structure. Audio files embedded in the OMF file are imported into Flint as clips. The audio does not need to be recaptured.
OMF files from the following applications are supported:
Only the EDL information (such as dissolve, timecode, tape name) and the audio media is supported (AIFF-C and WAV). No audio effects are translated (for example, audio gain, plug-ins).
When you import an OMF file with embedded audio media, the extracted audio files are saved in a new folder (with the OMF file name) located in the project EDL folder. Because audio media can take up a lot of space on the system drive, make sure that you manage the audio files and remove them after the project is done. The clips can be unlinked and relinked.
When importing OMF files created by third-party applications, the supported embedded sampling rates are 44.1 KHz and 48 KHz. Other sampling rates must be converted before the OMF file is created.
The supported resolution / framerates are NTSC 29.97 and PAL 25.
Source clips without tape names will be assigned IMPORT as a tape name.


The OMF file is loaded to the EDL module. EDLs are created for each track and layer in the OMF file. In addition, the audio media is extracted from the OMF file and placed in a temporary location. See About the Import EDL Menu.
The audio media is imported as clips in the clip library.
Once the EDLs are in the EDL module, you assemble the EDLs as you would any other EDL. See Assembling EDLs.