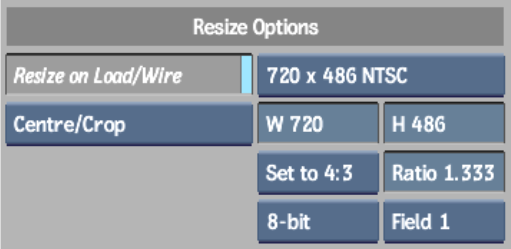
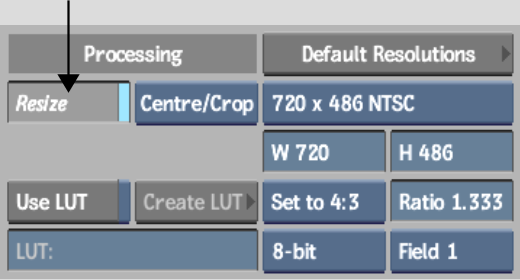
You can resize clips when you load them from a clip library or when you input them from the Import Image menu. In this case, you cannot preview the resized result.
The clip library provides access to clips of all sizes on local and remote framestores. When you resize a clip while loading it from a clip library, you create a new clip. You may want to save the resized result to another clip library.
Although you can resize images on import, it is a good idea to import an image without changing its size. Doing so preserves the source resolution, and this in turn gives you more options to use the image. For example, if you resize an HD image to NTSC on import, you cannot restore the image information lost by the resize process.
However, because file-based images have square pixels, it is recommended that you set resize settings to assign the proper frame aspect ratio on import when importing images that originate from formats that use non-square pixels.
In some cases, for example, with NTSC and PAL images, Flint detects the image frame size (720x486 or 720x576) and from this suggests that you resize the image by using a frame aspect ratio of 1.333 (4:3). If you are working with 1.778 (16:9) NTSC or PAL, you should override this setting.
With other non-square pixel images, such as those originating from anamorphic film formats, you must manually specify the frame ratio that corresponds to the image (for example, 2.35); otherwise, the images are imported assuming square pixels.
To access the resize settings from a clip library:
The resize settings are enabled.


See Resize Settings.
To access the resize settings on import:


See Resize Settings.
To access the resize settings on export:
See Resize Settings.