Show in Contents

Add to Favorites

Home: Flint

Adjusting a Preset SMPTE Wipe

Using Templates for SMPTE Wipes

Creating an Axis Transition

Adjusting a Custom Wipe
With custom wipes, you may need to create
a template if:
- You intend to change the default start
position for the wipe by using the X and Y Position fields in the
Wipe quick menu.
- You intend to increase the duration of
the transition by a large amount.
- You intend to use the custom wipe often.
- The custom wipe has no tracking data.
When you create a template,
you must specify the default start position and then define an End
Bias for all nine possible end positions. Once you create the template,
you must enable the blue light on the Template button to make the
Adjust option available.
To set the start position for a custom
wipe:
- Create your wipe. See
Creating Customized Wipes with Garbage Masks.
- Select the transition on the timeline
and click Pattern.
The file browser appears.
- Select Custom in the SMPTE wipes box
to view saved custom transitions.
- Select the custom transition you want
to use.
Your custom wipe is applied
to the transition icon on the timeline.
- Click E beside the Wipe button to enter
the Wipe Editor.
- Click Template to display the Template
menu.
- Enable the Template Mode button to view
the template in the image window.
- Click Start Position.
- Set the default start position by enabling
a Start Position button, for example, Top Left.
To set the end bias for a transition:
- Click End Bias.
The positioner goes to
the last frame of the wipe.
- Set the value in the currently enabled
End Bias box to 0. (The currently enabled End Bias box should be
the same as the default start position.)
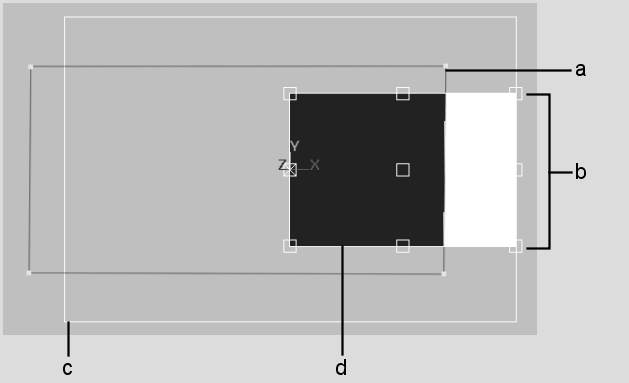
On the last frame, the
point closest to the centre of the axis should be just outside the
image. This ensures that the mask fully covers the incoming image.
If it does not, click the Mask button and proportionately increase
the scale of the mask.
- Set an End Bias for every End Bias position:
- Click each End Bias box and drag the
value until the mask is just large enough to encompass the entire image.
To adjust the custom wipe:
- Enable Template.
- Exit the Wipe Editor.
- Change the X and Y position for the wipe
in the Wipe quick menu, or increase the duration of the transition.
- Scrub the transition.
Notice how the interpolation
causes the last frame of the wipe to jump.
- Enable Adjust in the Wipe quick menu.
- The interpolation of the transition should
be much smoother.


