Show in Contents

Add to Favorites

Home: Flame

About the Burn In Menu

Timecode and Keycode

Importing Final Cut Pro XML

Burning-in Clip Information
Use the Burn In tools to burn-in clip information
such as timecode,
keycode, and frame numbers. The information appears as
text on your clip for your reference.
If you are mixing clips
that originate from formats that use different timecode, you may
want to burn-in information on a clip to keep a timecode reference
clip.
NoteBurn In settings
are saved from session to session. You can reset them to the factory
defaults by clicking Reset.
Burn-in
the clip's keycode data with the Burn In tool. This ensures that
keycode data is not lost as frames progress through the work pipeline
of your Autodesk Visual Effects and Finishing application, and possibly
through other applications. See
Ways that Timecode and Keycode is Preserved or Destroyed.
You can also use the Burn-In Timecode node in
Batch to burn-in keycode. Either enter a keycode value using the
keycode calculator or use the keycode data contained in the clip.
To burn-in clip information from the
Burn In menu:
- In
the Main menu, click Format.
- In
the Format menu, click Burn In.
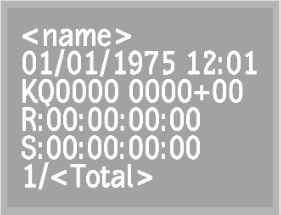
- Enable the buttons for the clip information
that you want to burn into the clip, such as Comments, Source Timecode, Keycode, and Date/Time.
The selected information
on the clip is shown in the sample frame. See
About the Burn In Menu.
- Click to edit any of the timecode or keycode fields.
- Click Burn In.
- Select the clip into which you want to
burn in the clip information.
- Select the destination for the result
clip.
The result clip appears
in the selected destination.
To burn-in clip information from the
Burn-In Timecode node in Batch:
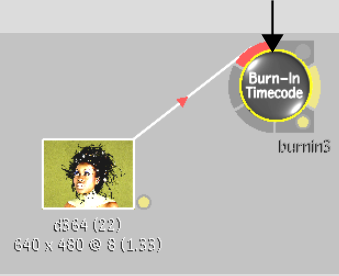
- Add a Burn-In Timecode node to the schematic.
- Select the Burn-In Timecode node to display
its menu.
- Enable the buttons for the clip information
that you want to burn into the clip, such as Comments, Source Timecode, Keycode, and
Date/Time.
- Click to edit any of the timecode or keycode fields.
- To use the keycode
data embedded in the clip, with the Burn-In node selected in the
schematic, hold T while clicking
the clip whose keycode you want to burn-in.
The keycode from the
clip appears in the Keycode field of the Burn In menu.
NoteAlthough you can
burn-in the keycode onto the image, clips processed from Batch do
not contain embedded keycode.
- Continue working on your clip in Batch.


