Correspondence points indicate how one frame is mapped to another in relation to source and destination splines, or Input1 and Input2 source splines when using source interpolation. If part of a clip is pulled or shifted too much during a distort, you can realign it by adjusting the correspondence points.
By default, correspondence points are added automatically. You can display the points, move them around the splines, animate them, as well as add and delete points to create a correspondence that better suits your needs. The more correspondence points a spline has, the more control you have over how the warp or morph is mapped.
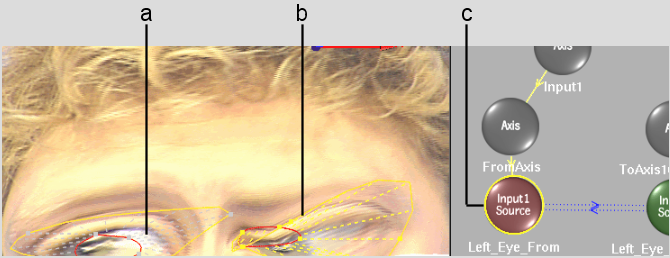
Correspondence points are shown on the source and destination splines, and are connected by dotted lines. Selected splines show the connections with yellow dotted lines; unselected splines shown them in grey.


(a) Correspondences of unselected spline (grey) (b) Correspondences of selected spline (yellow) (c) Selected spline in Distort schematic
To move correspondence points:
You can also select multiple points by Shift-clicking them.
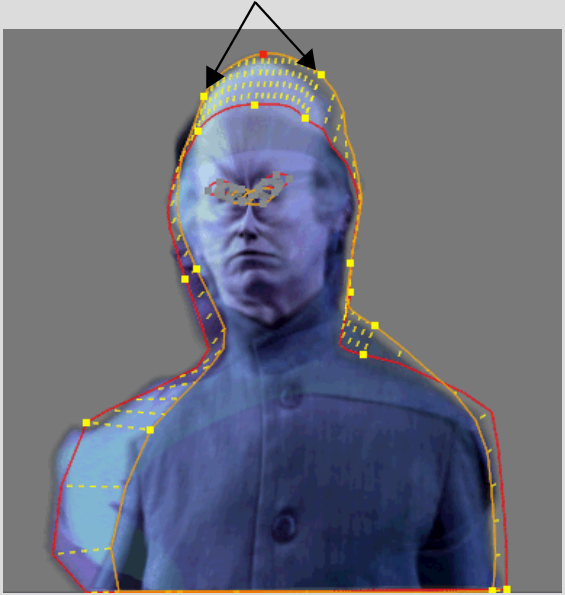
Points can only be moved between the two points that surround it on the spline.


The correspondence point can only be moved between the two surrounding points
Image courtesy of Behavior Communications Inc.
The warped or morphed region is remapped according to the changes made to the correspondence points.
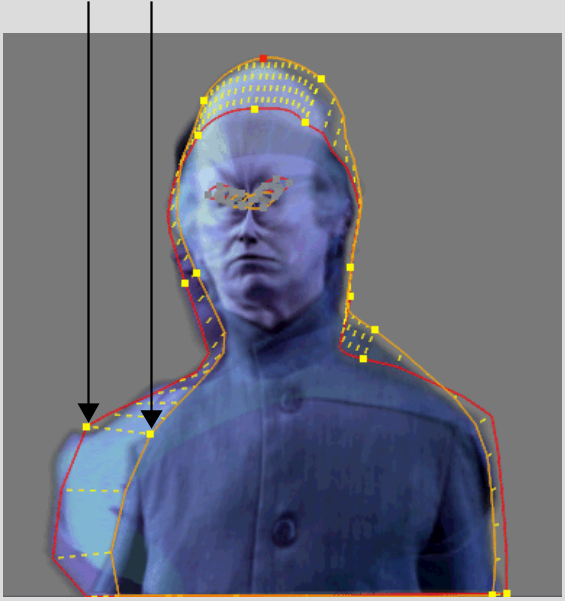
A point is added. As well, a corresponding point is added to the corresponding spline. You can then move either of these points to improve the mapping of the clip. The more correspondence points there are, the more refined the distortion.


Adding a correspondence point to a source spline adds one to the destination spline
Image courtesy of Behavior Communications Inc.
To animate correspondence points:
Correspondence point animation for each spline is kept in a corresPts channel in the Channel Editor. See Distort Animation Channels.
To delete correspondence points:
The point you clicked and the corresponding point on the corresponding spline are deleted.